Woocommerce Store Integration

Here is what you need to know to process your shop receipts, extract transactions, and integrate them back into your WordPress store powered by Woocommerce.

If the step-by-step tutorial fails to load or appears weird,  you may access it here

1. Go to Setup Automated Order Updates in your admin dashboard — Click on Connect Store to emailreceipts.io - WordPress
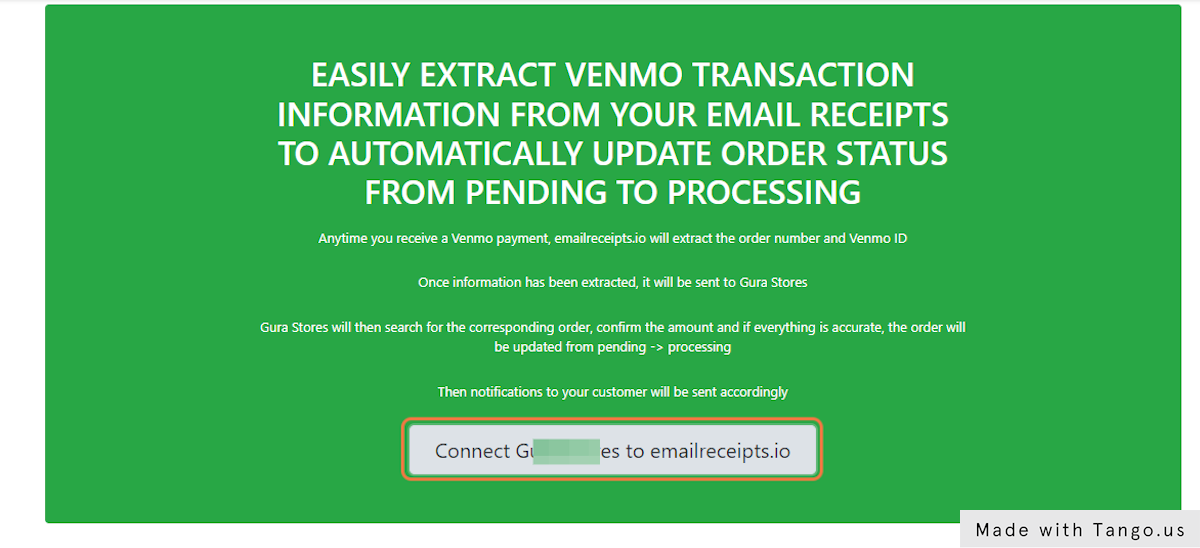
Go to Setup Automated Order Updates in your admin dashboard — Click on Connect Store to emailreceipts.io -  WordPress

2. Go to Store Connect | Email Receipts

3. Update any information that might be missing
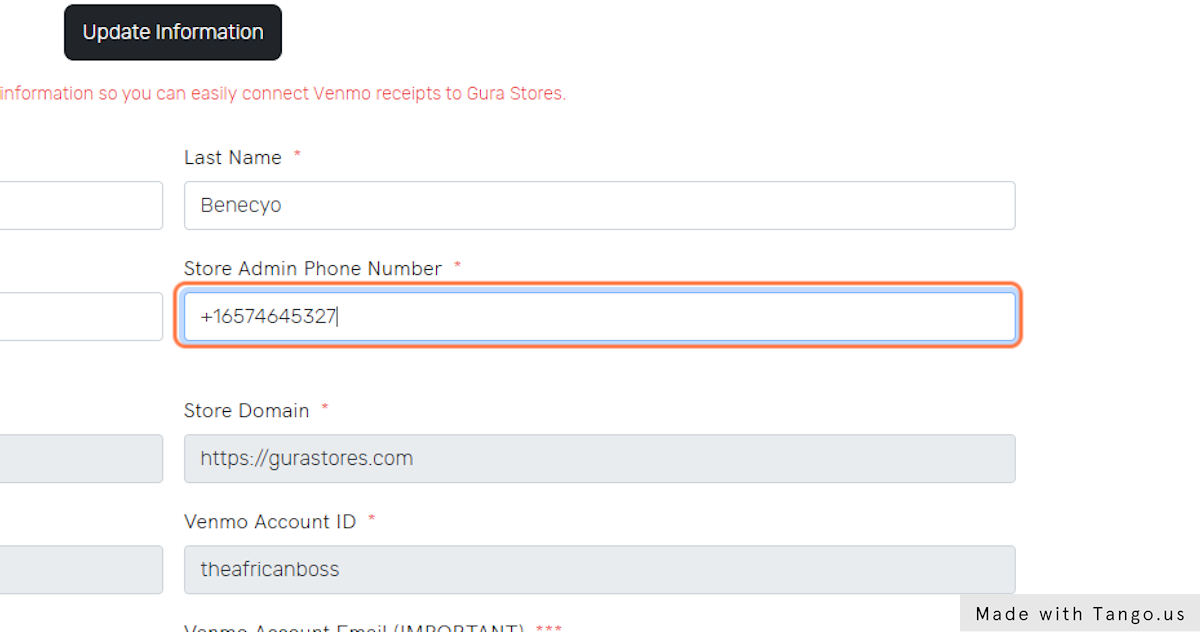
Update any information that might be missing

4. Click on Connect Store once all information has been entered correctly
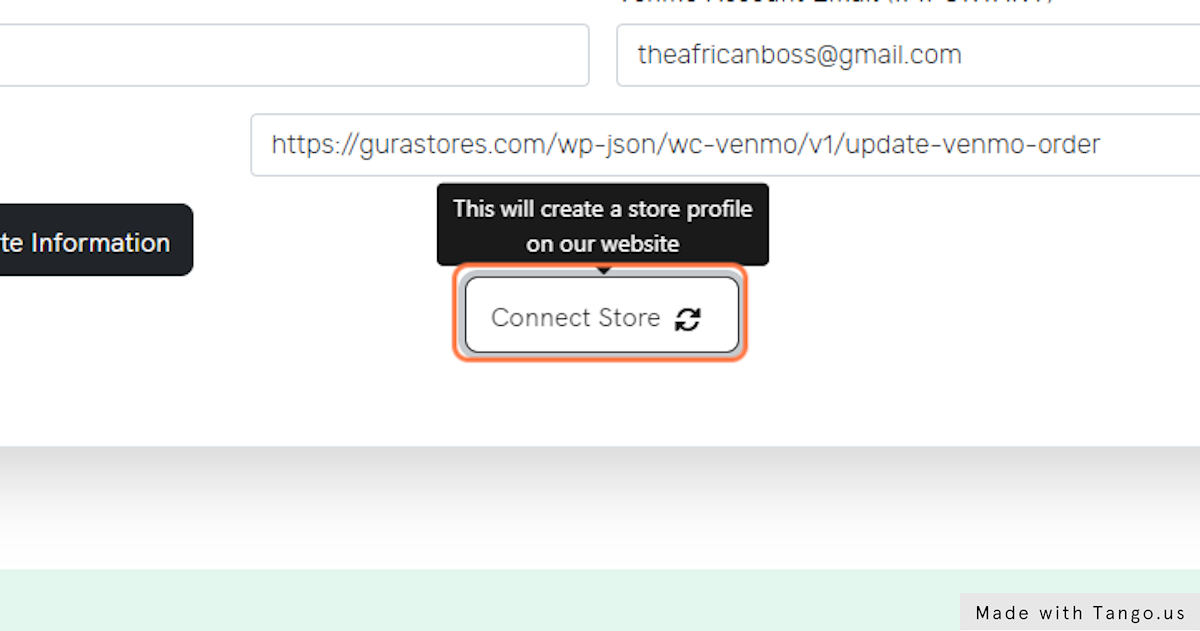
Click on Connect Store once all information has been entered correctly

5. Read the instructions carefully telling you what email to forward for extraction
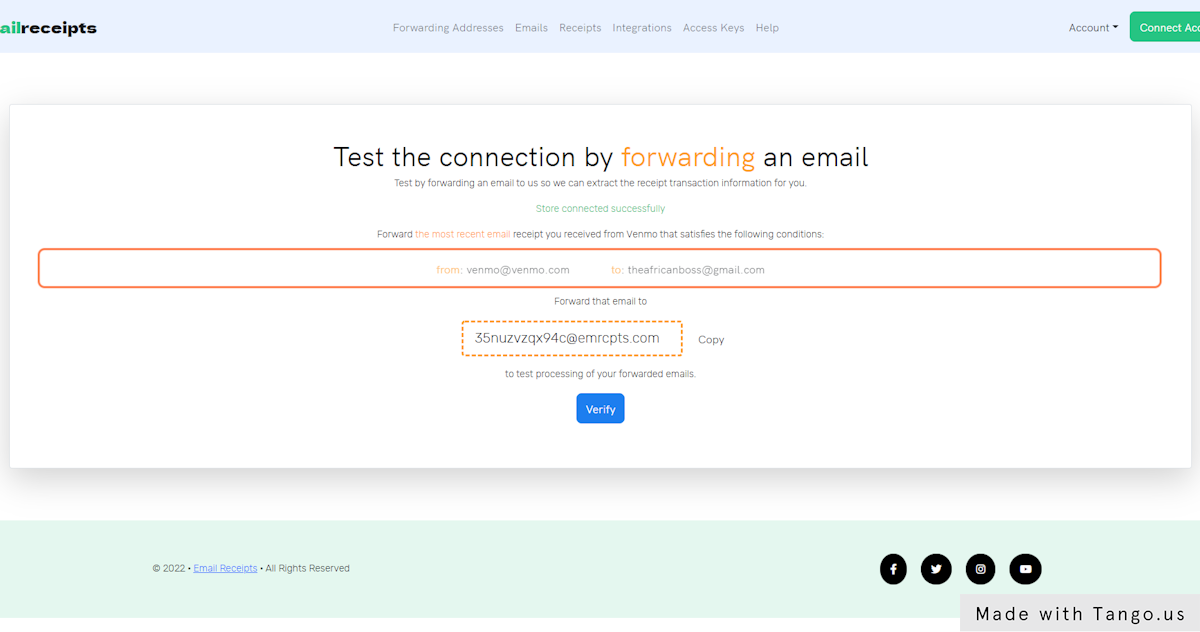
Read the instructions carefully telling you what email to forward for extraction

6. Copy your generated email address "*****@emrcpts.com" linked to your financial institution
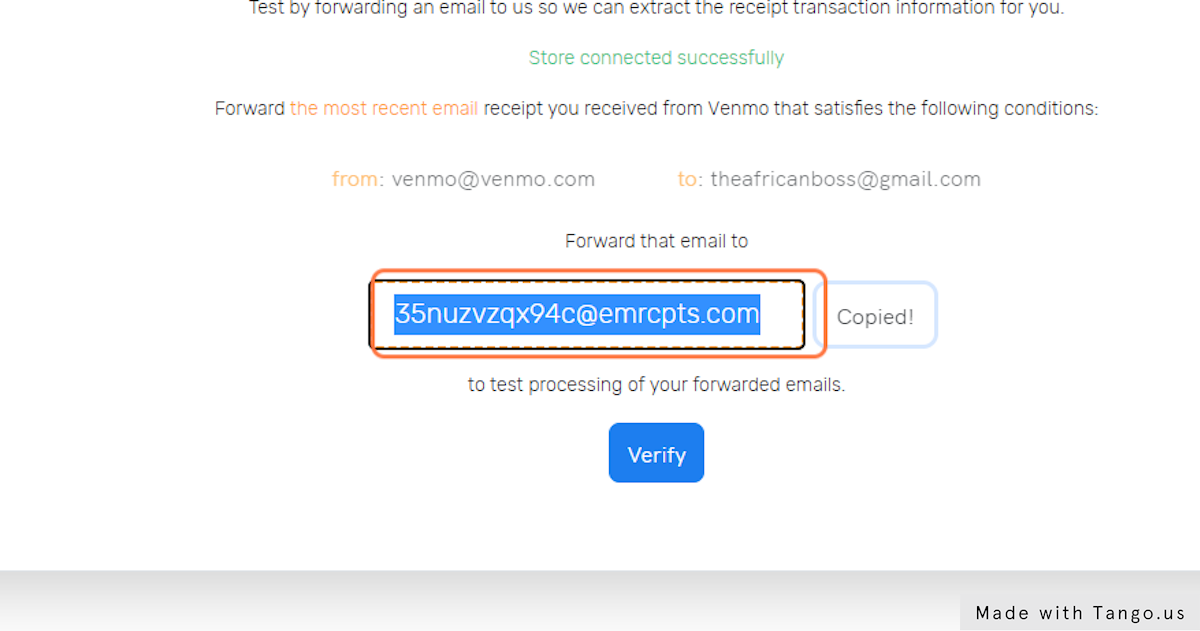
Copy your generated email address "*****@emrcpts.com" linked to your financial institution

7. Go to the mailbox where you receive email receipts from your financial institution - example: Gmail

8. Click on Advanced search options
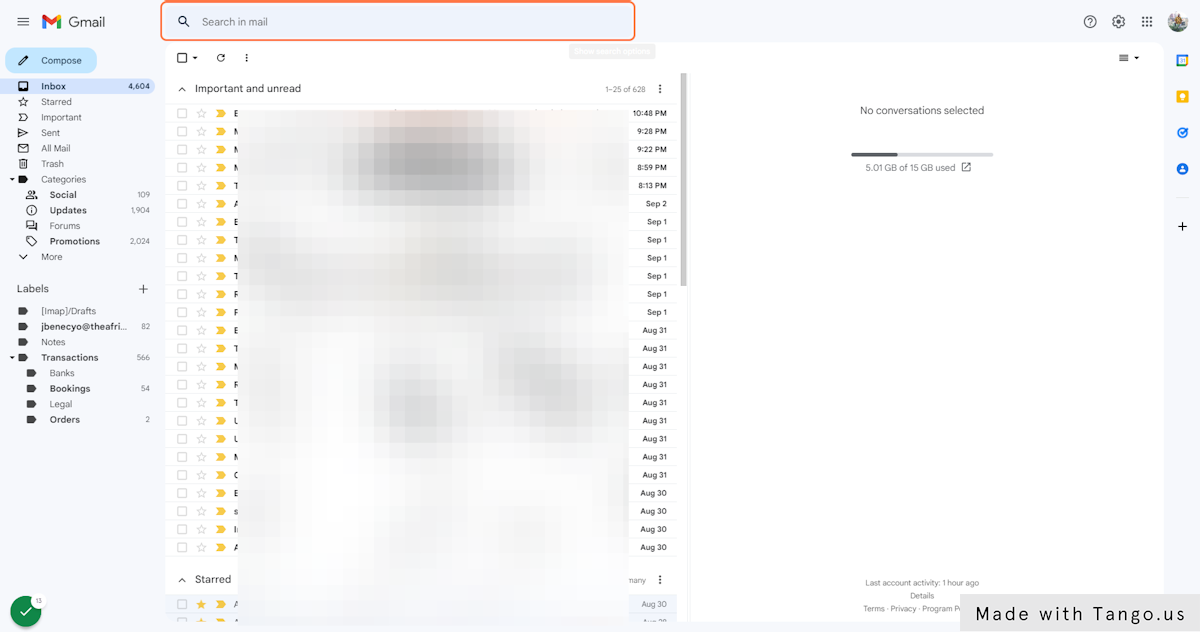
Click on Advanced search options

9. Type in the financial institution email address as provided in the emailreceipts.io forwarding email instructions
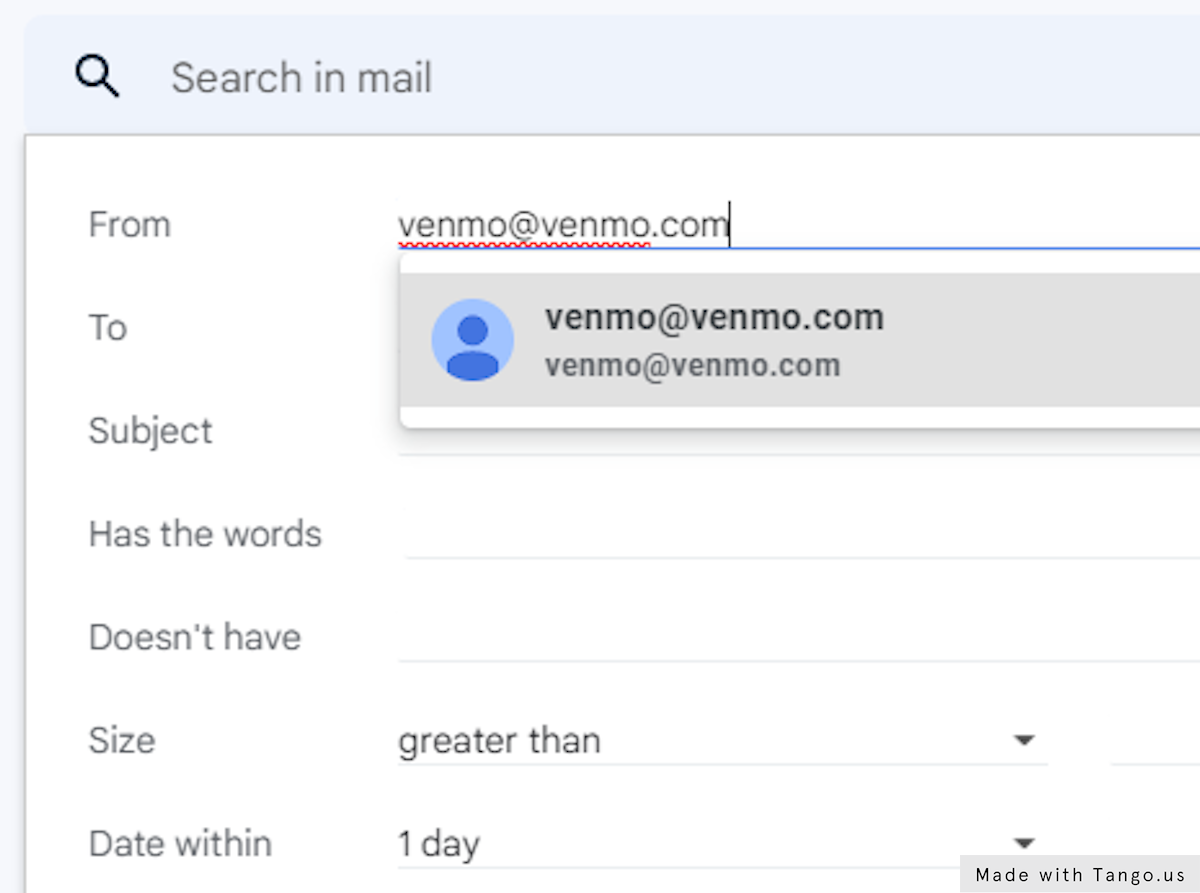
Type in the financial institution email address as provided in the emailreceipts.io forwarding email instructions

10. Check again the instructions if necessary
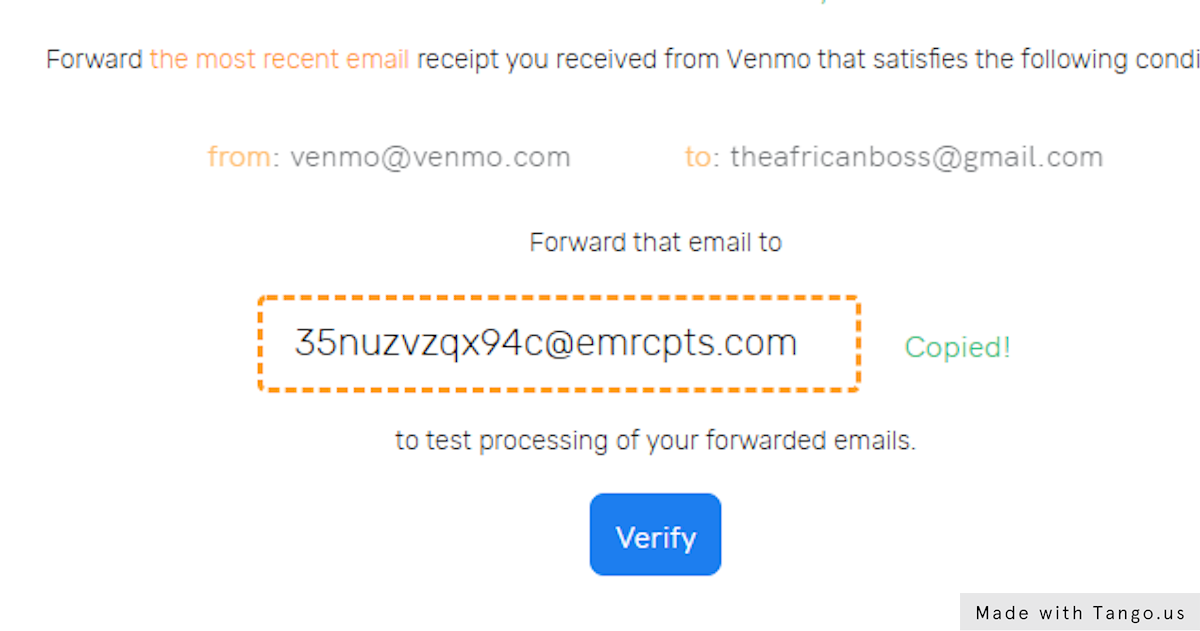
Check again the instructions if necessary

11. Depending on the case, you might add keywords in your advanced search to narrow down your search to only emails containing transactions for example emails containing the subject "paid you" (use the double quotes to emphasize those exact words in that order)
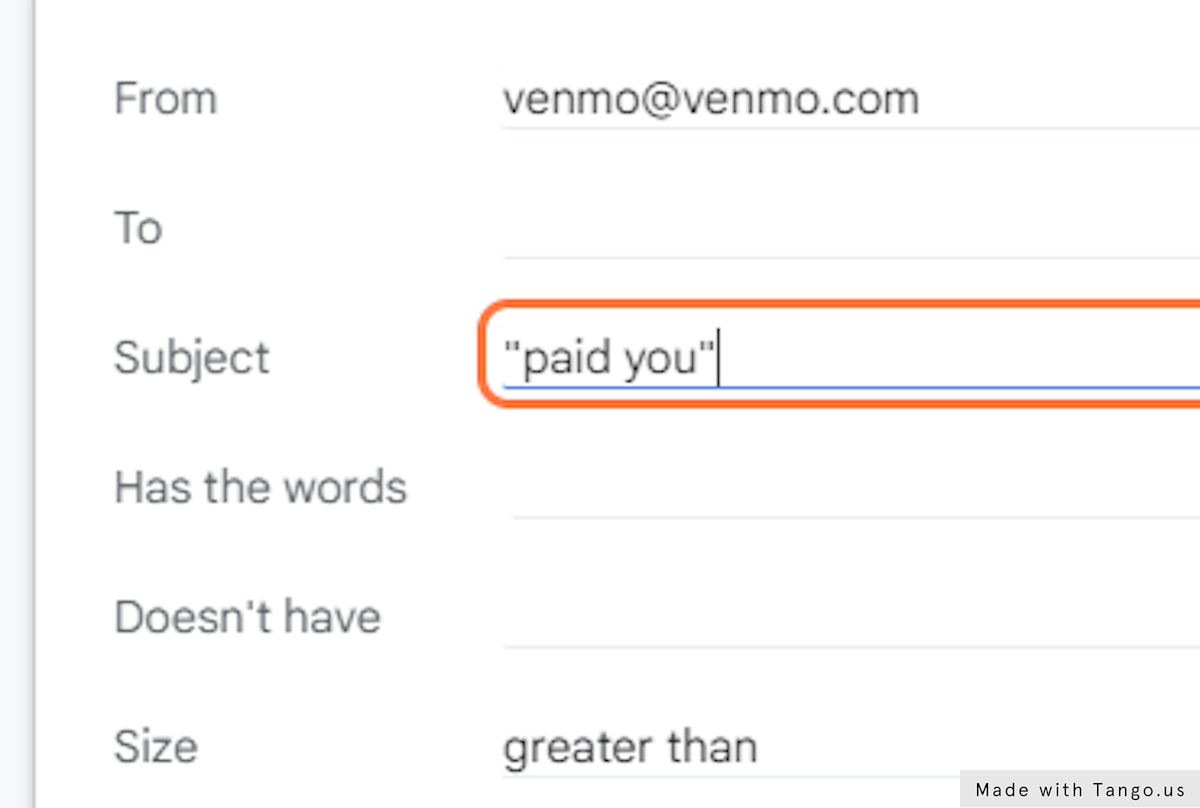
Depending on the case, you might add keywords in your advanced search to narrow down your search to only emails containing transactions for example emails containing the subject "paid you" (use the double quotes to emphasize those exact words in that order)

12. Once done with filtering, click on "Search"
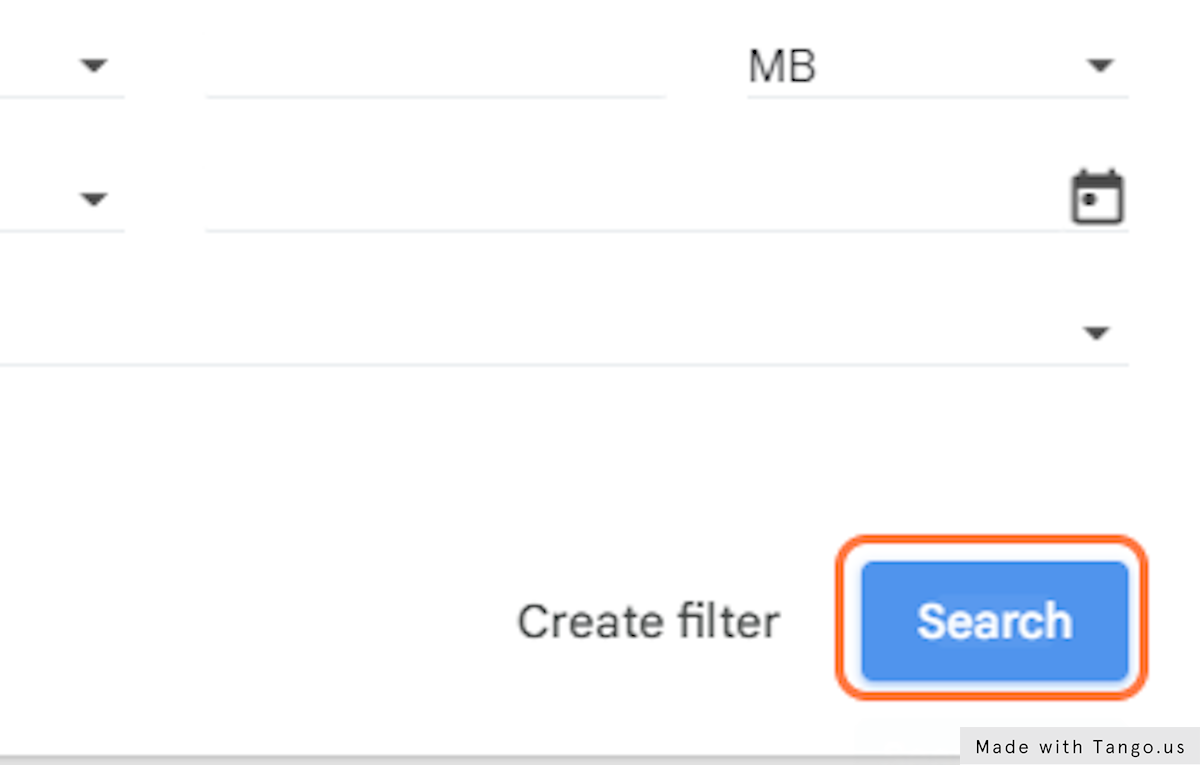
Once done with filtering, click on "Search"

13. Click on the most recent email that corresponds to the emailreceipts.io instructions
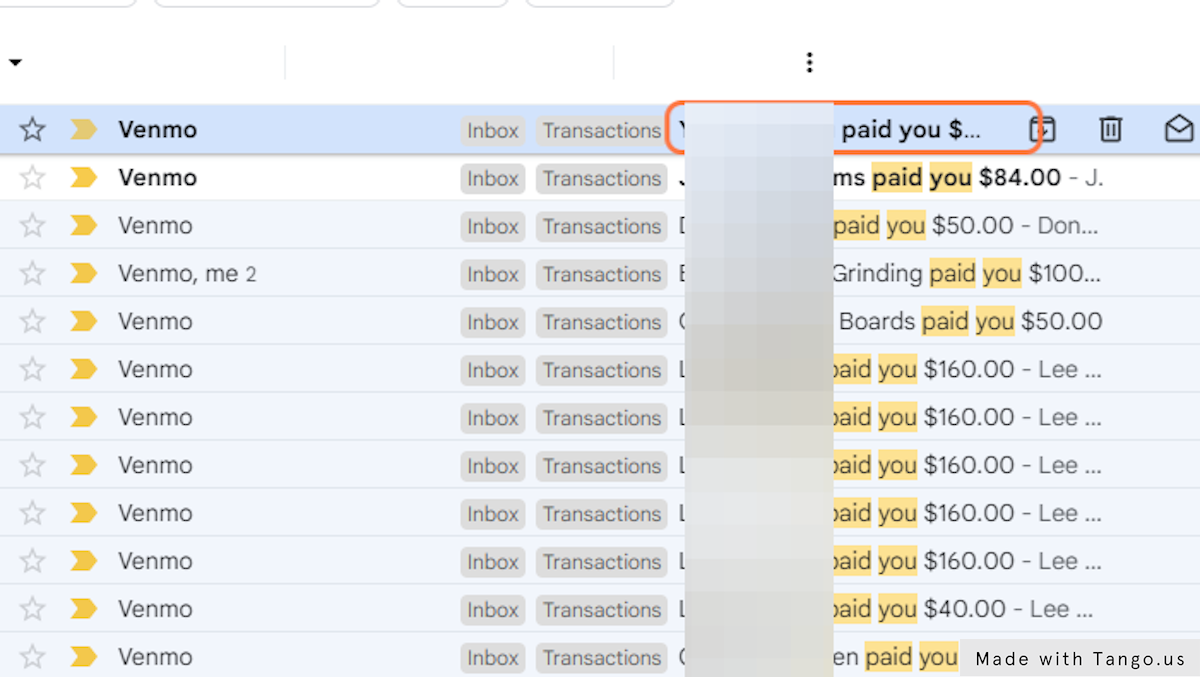
Click on the most recent email that corresponds to the emailreceipts.io instructions

14. Click on Forward
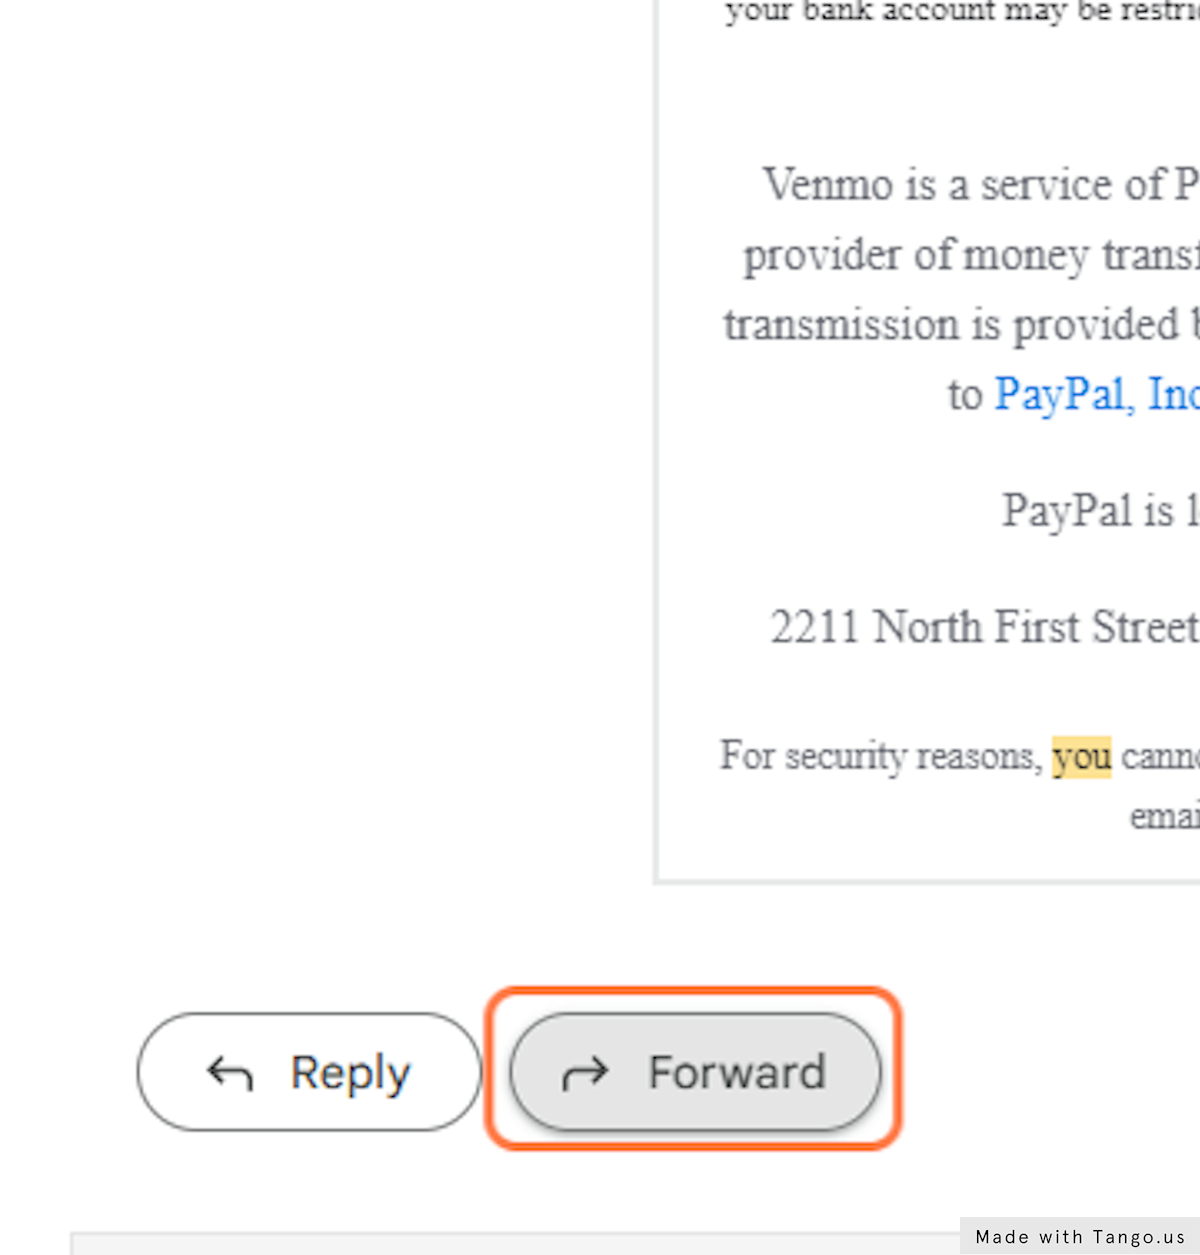
Click on Forward

15. Copy your generated email address "*****@emrcpts.com" linked to your financial institution
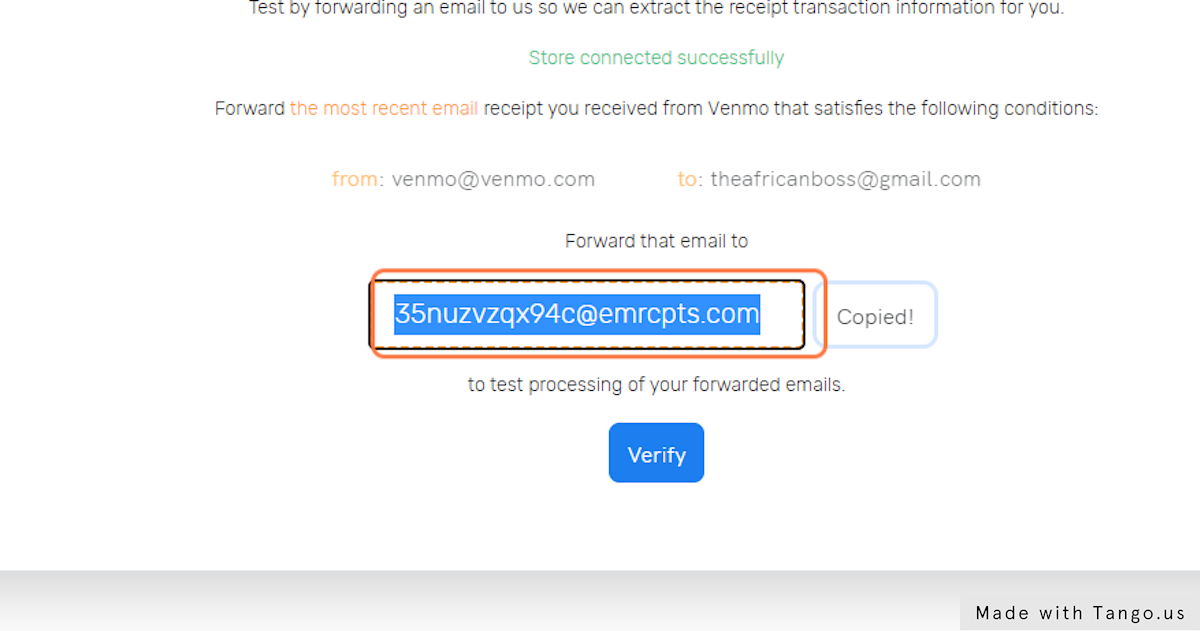
Copy your generated email address "*****@emrcpts.com" linked to your financial institution

16. Forward the email receipt to "*****@emrcpts.com"
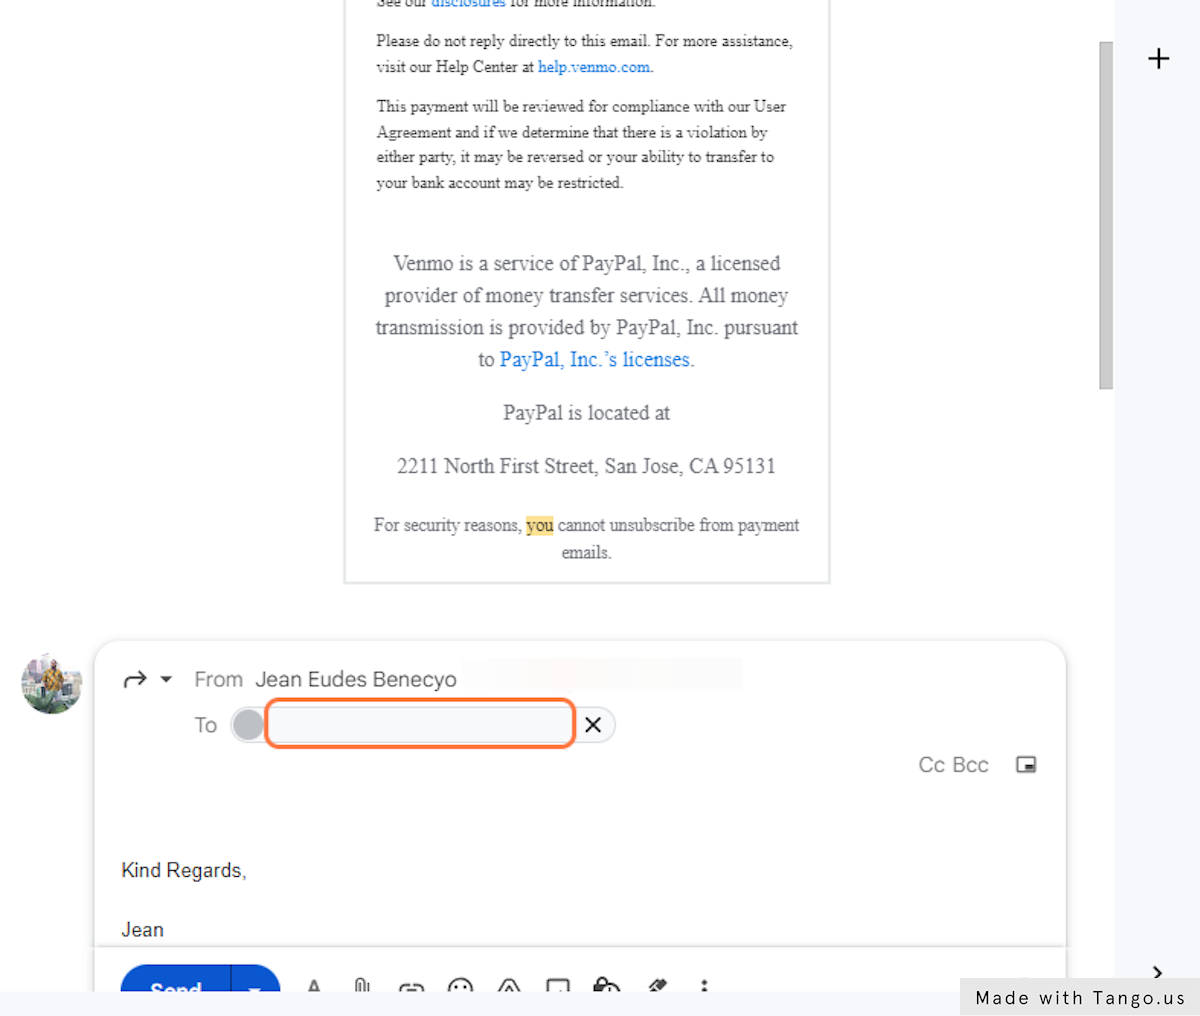
Forward the email receipt to "*****@emrcpts.com"

17. Click on Send to forward the email receipt to "*****@emrcpts.com"
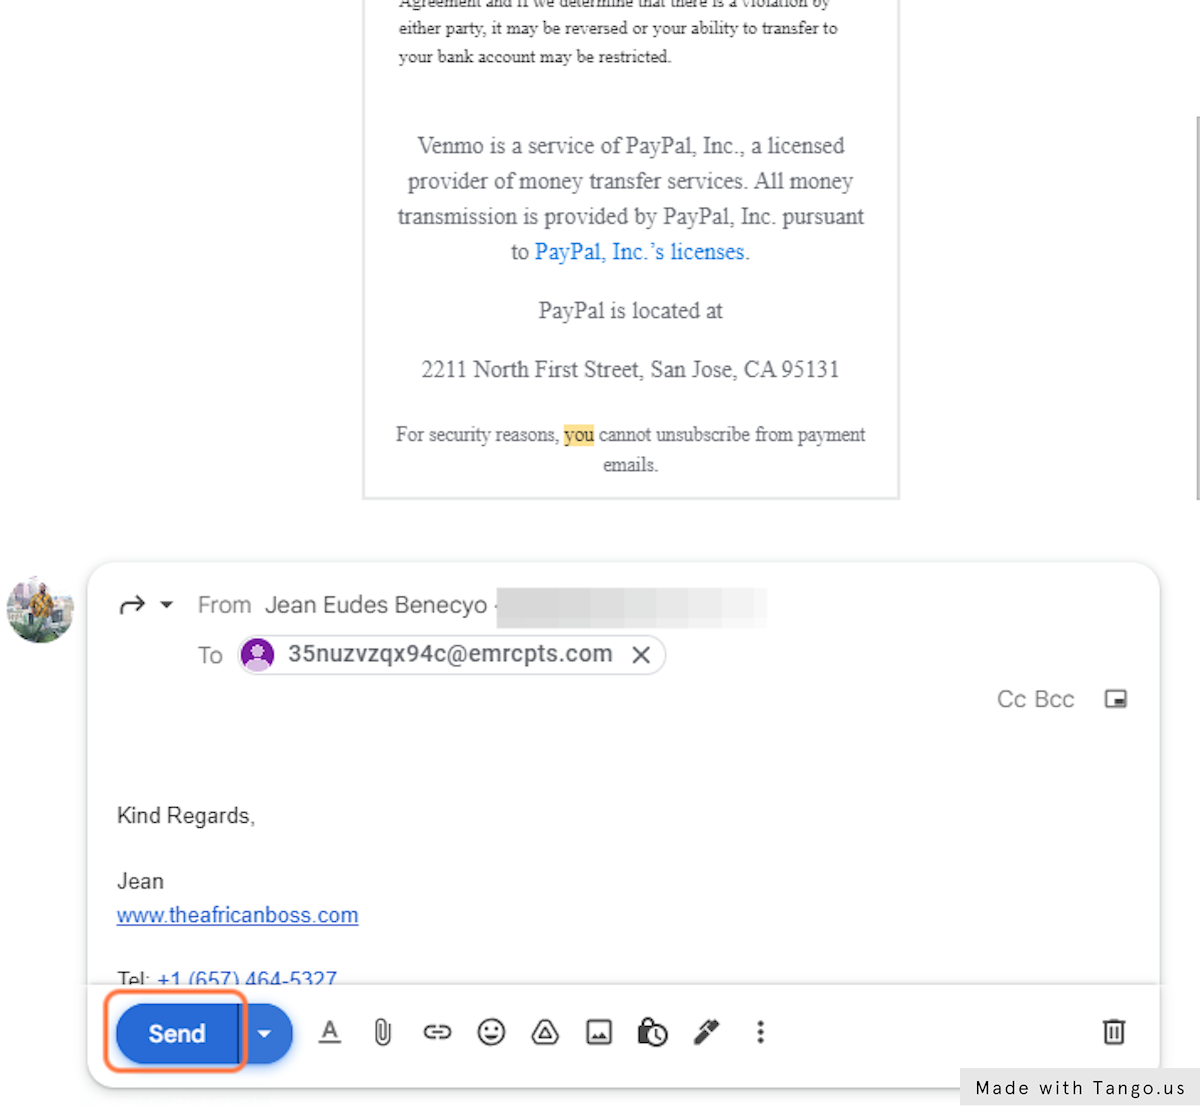
Click on Send to forward the email receipt to "*****@emrcpts.com"

18. Go back to emailreceipts.io and click on Verify to verify that the email receipt has been processed
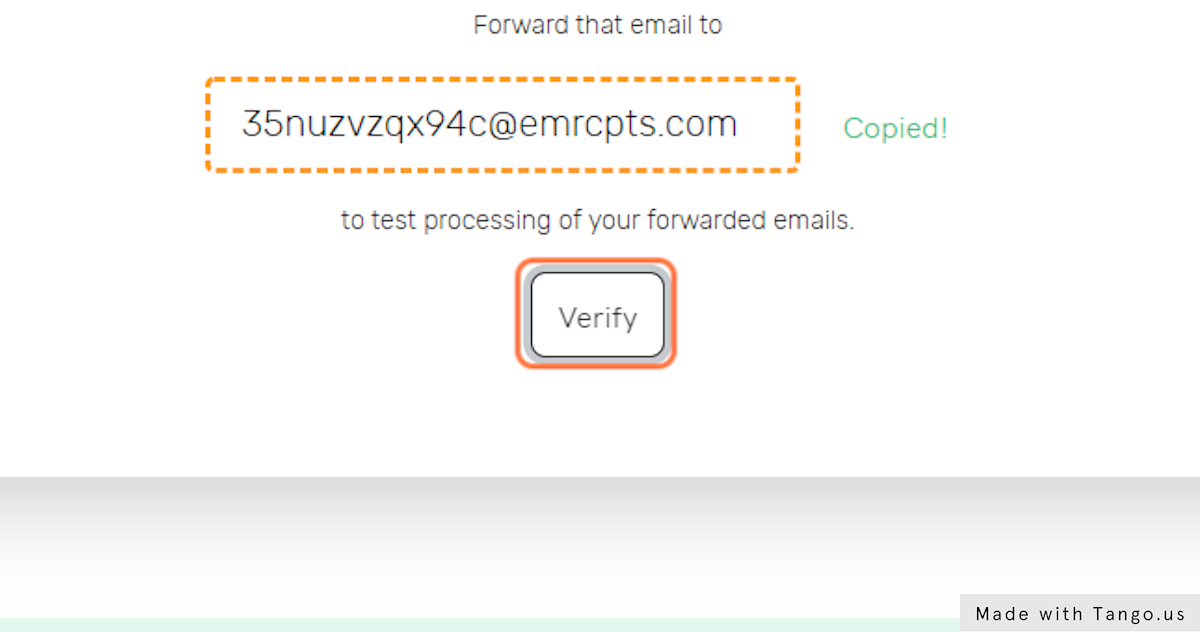
Go back to emailreceipts.io and click on Verify to verify that the email receipt has been processed

19. You should see 0 or 1 Receipt(s) found depending on whether the receipt has been processed yet or not
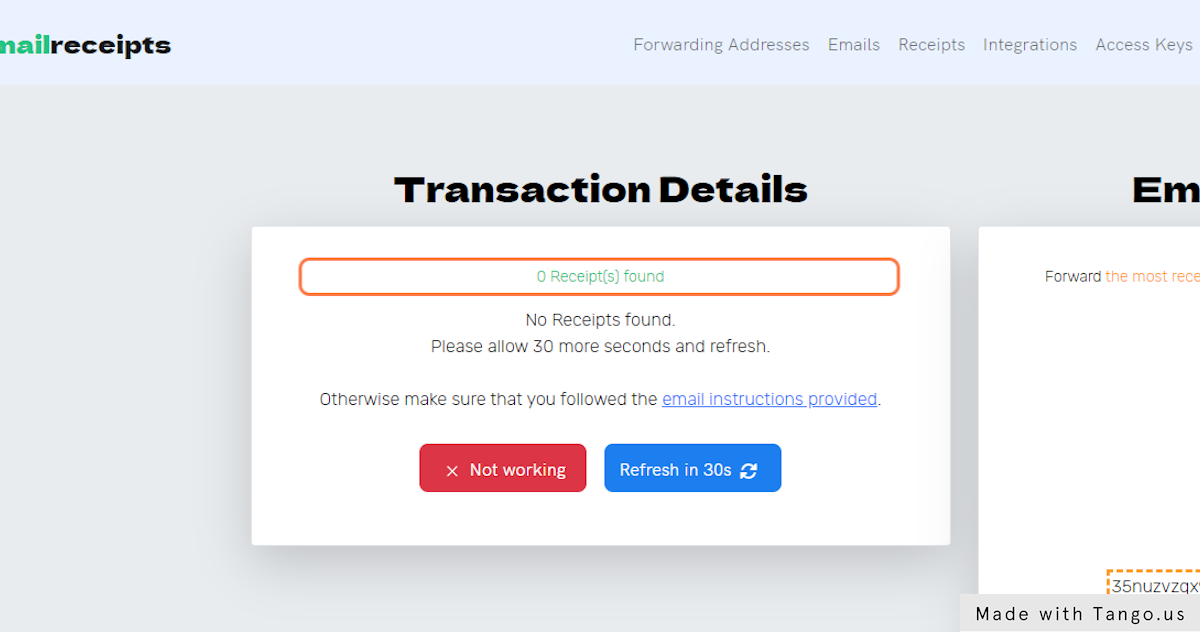
You should see 0 or 1 Receipt(s) found depending on whether the receipt has been processed yet or not

20. If the receipt has not yet been processed, click on Refresh
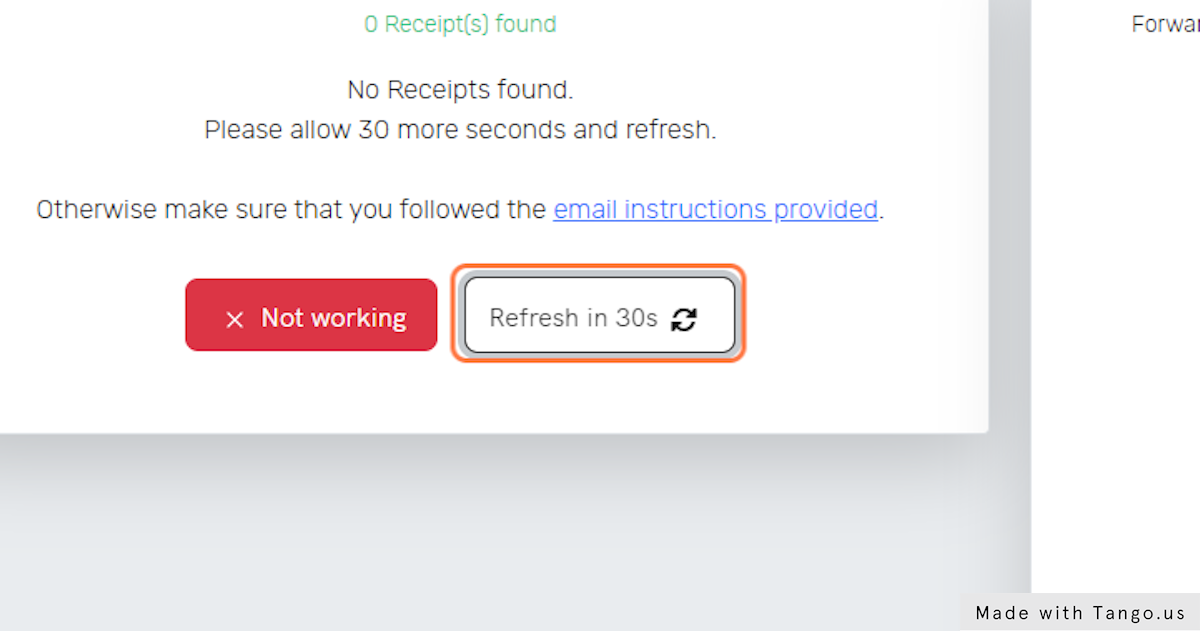
If the receipt has not yet been processed, click on Refresh

21. If it takes longer than 1min, click on Not working to check if the email was received and if it wasn't make sure that you sent it to the right email (you may also contact us if confused)
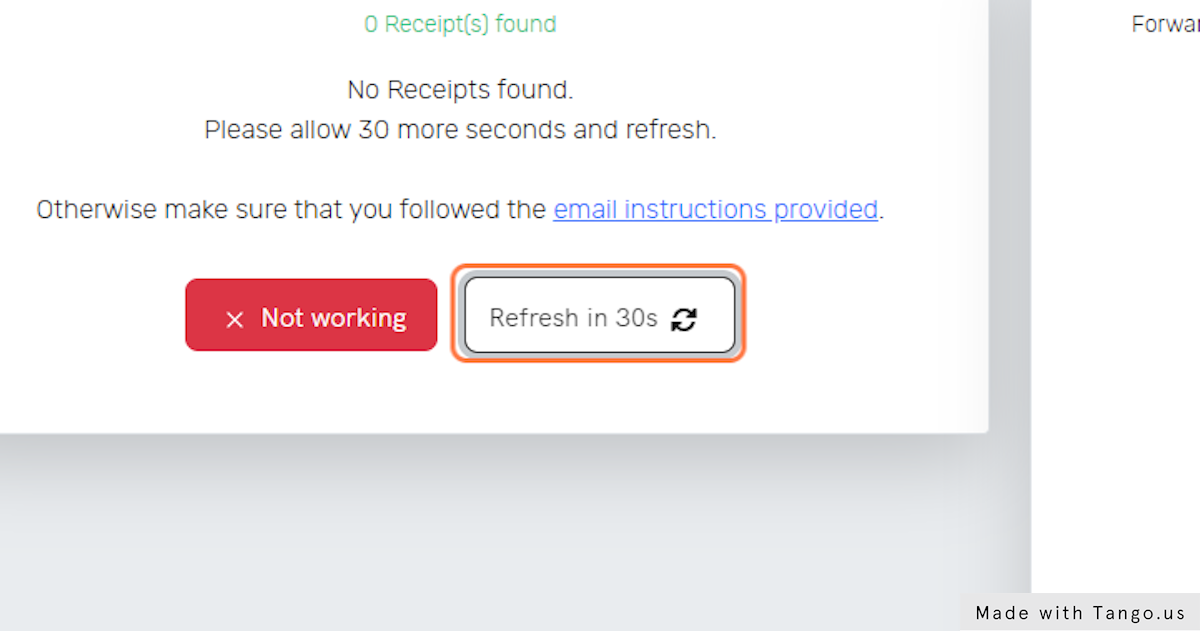
If it takes longer than 1min, click on Not working to check if the email was received and if it wasn't make sure that you sent it to the right email (you may also contact us if confused)

22. Usually email receipt processing takes 10-30s so eventually you should see that a receipt has been found
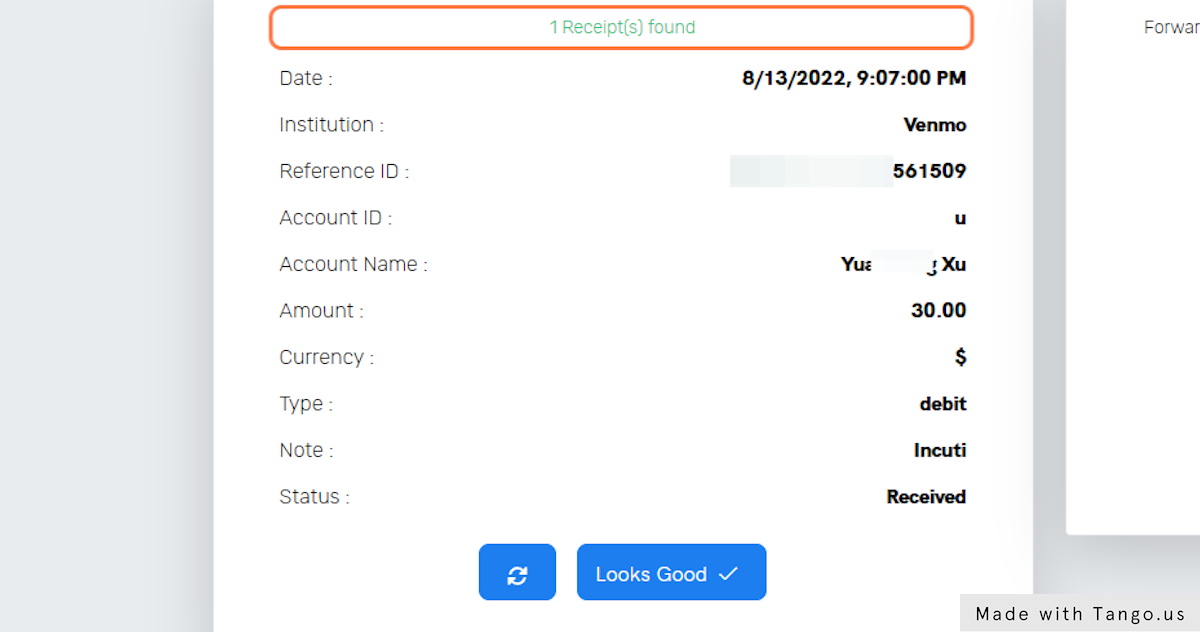
Usually email receipt processing takes 10-30s so eventually you should see that a receipt has been found

23. Click on Looks Good to move to the next step
Click on Looks Good to move to the next step

24. Click on Connect through email forwarding if you want your mailbox to forward email receipts to emailreceipts.io

Depending on your financial institution, you may choose to add the *****@emrcpts.com address as an additional notification email (meaning that the email gets notified as an additional email anytime your financial institution sends an email) or you might decide instead to do it from your mailbox where you can filter exactly what types of emails to forward to emailreceipts.io

Most financial institutions do not send sensitive information through emails, so if yours does, you might want to use the advanced filter to only forward the receipts.
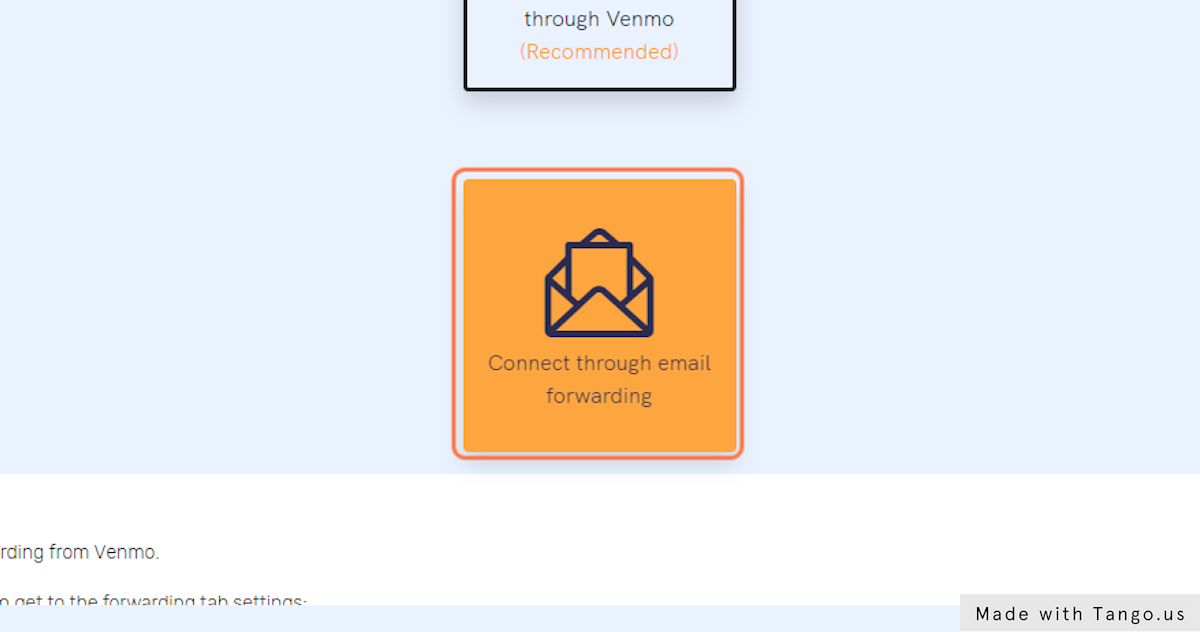
Click on Connect through email forwarding if you want your mailbox to forward email receipts to emailreceipts.io

25. Copy input titled "******@emrcpts.com"
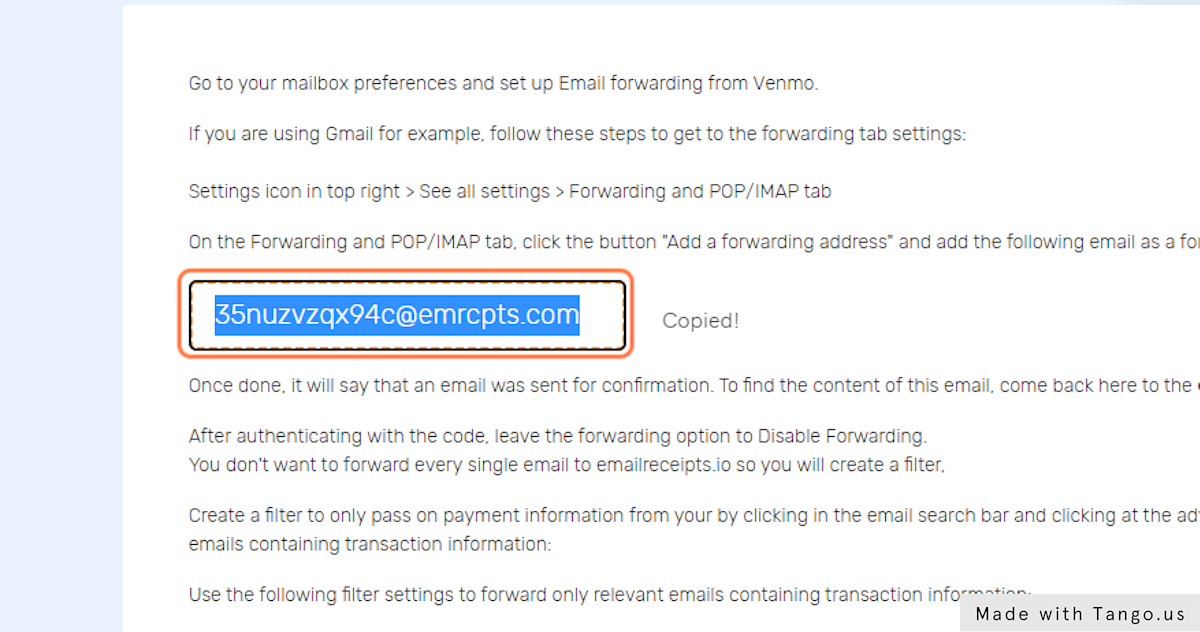
Copy input titled "******@emrcpts.com"

26. Click on Search: Inbox
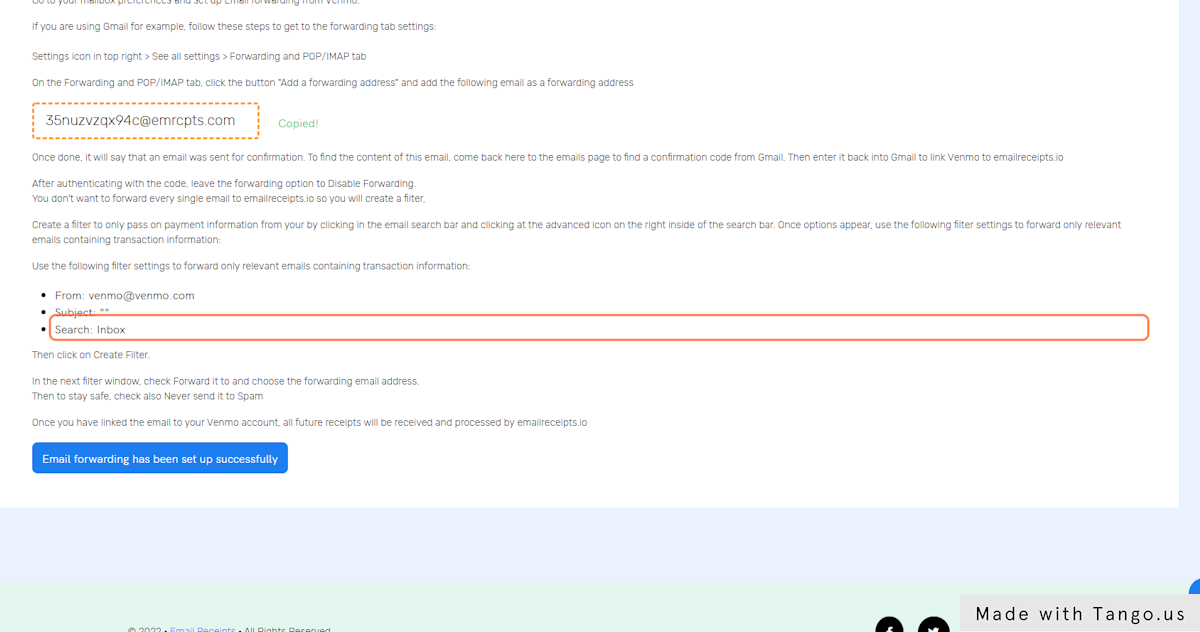
Click on Search: Inbox

27. Click on Settings
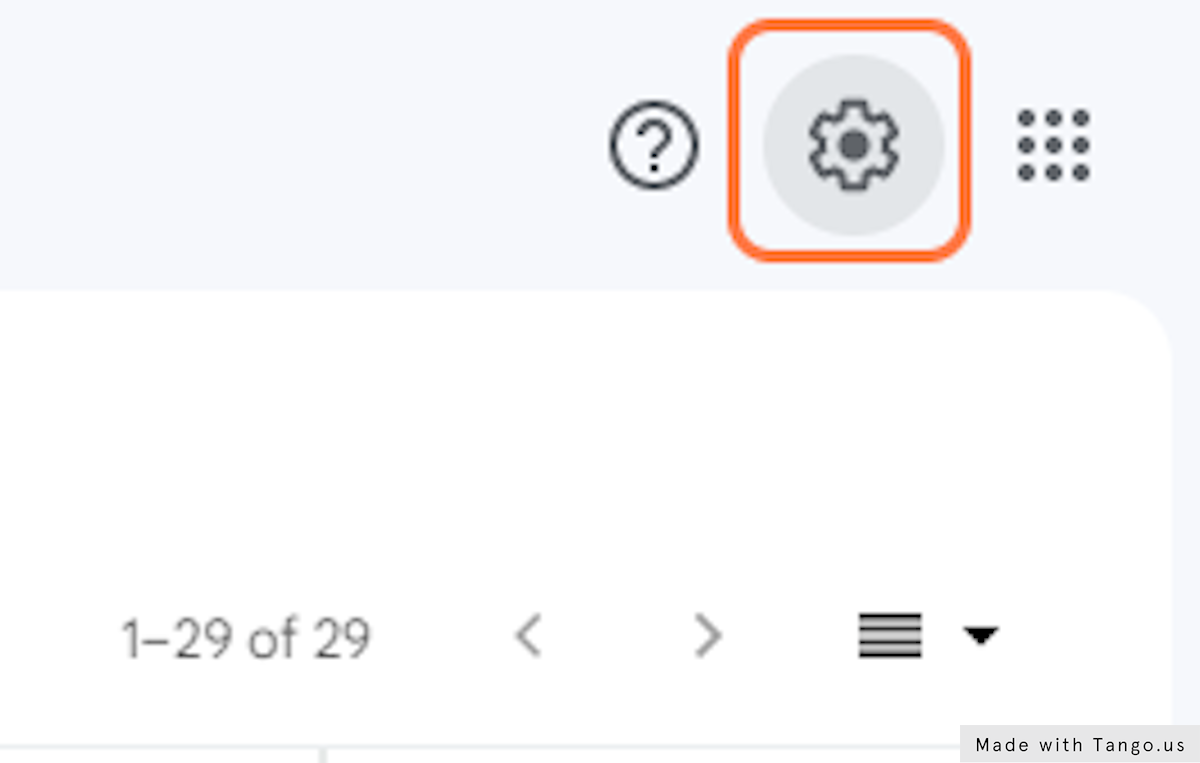
Click on Settings

28. Click on See all settings
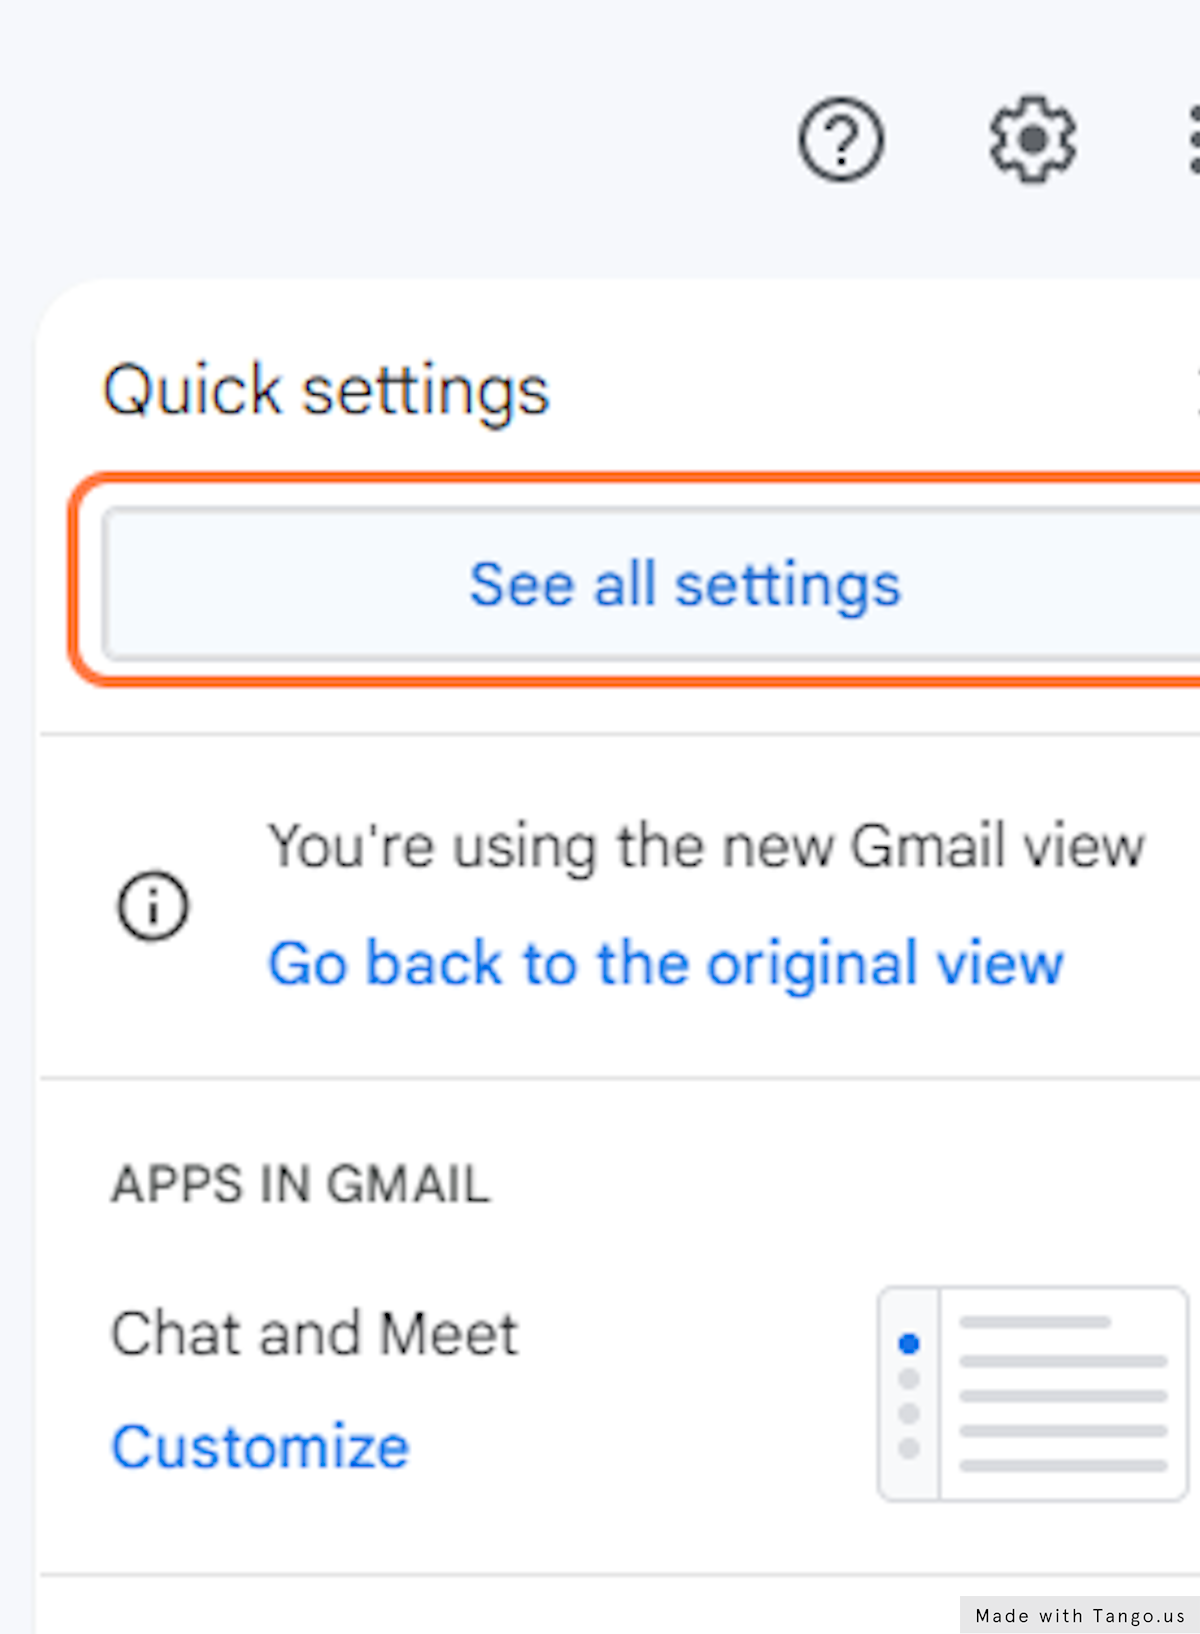
Click on See all settings

29. Click on Forwarding and POP/IMAP
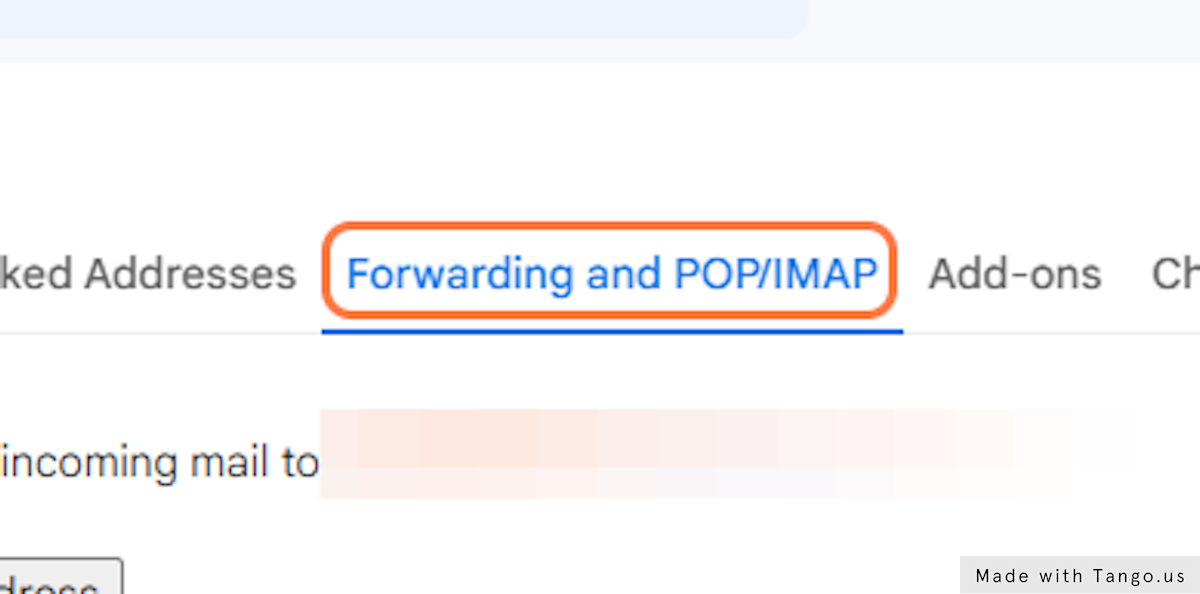
Click on Forwarding and POP/IMAP

30. Click on Add a forwarding address
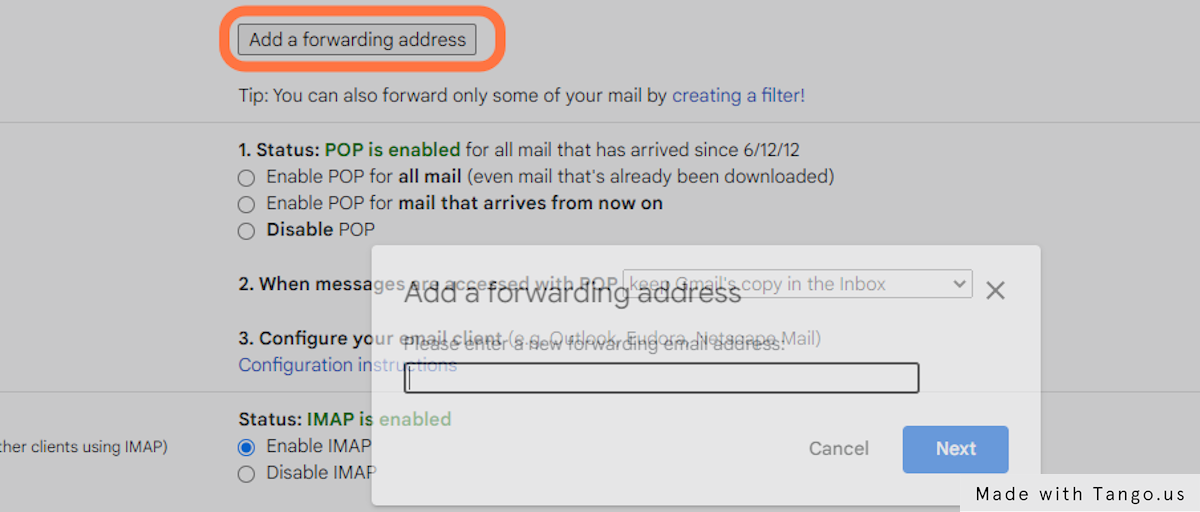
Click on Add a forwarding address

31. Paste "*****@emrcpts.com" into input then Click on Next
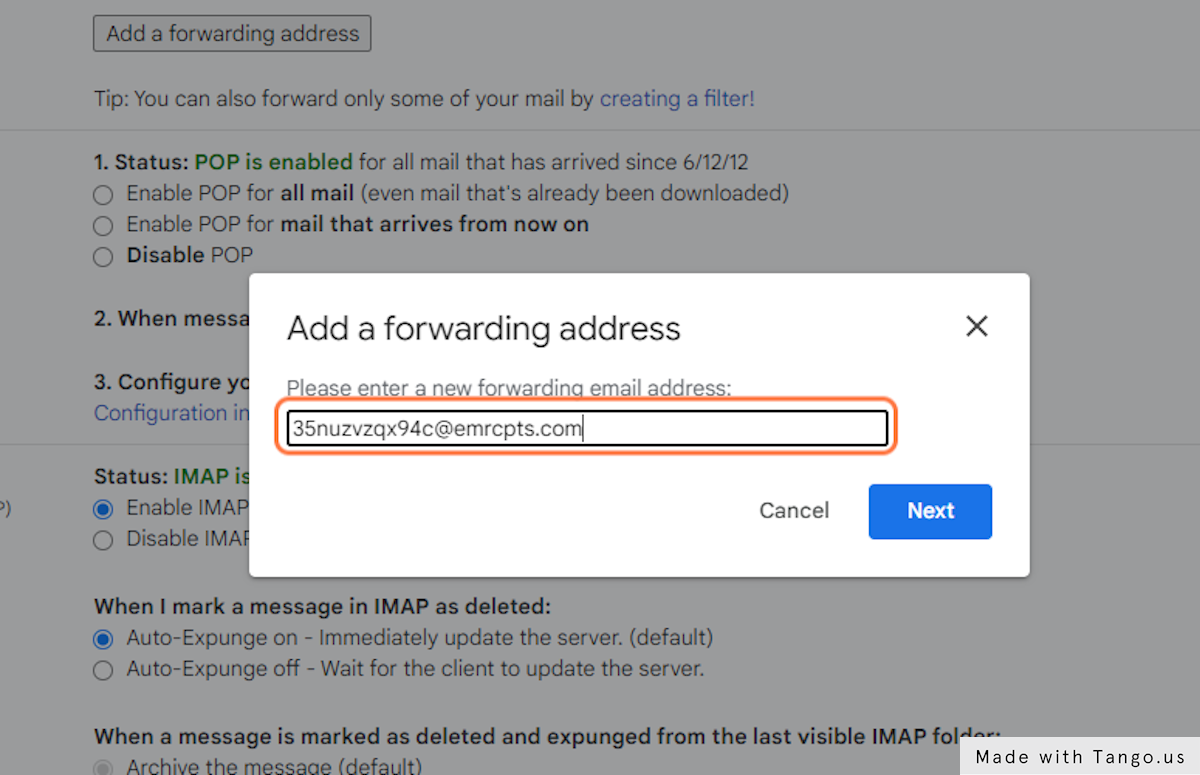
Paste "*****@emrcpts.com" into input then Click on Next

32. A popup window will open asking you to confirm: Click on Proceed
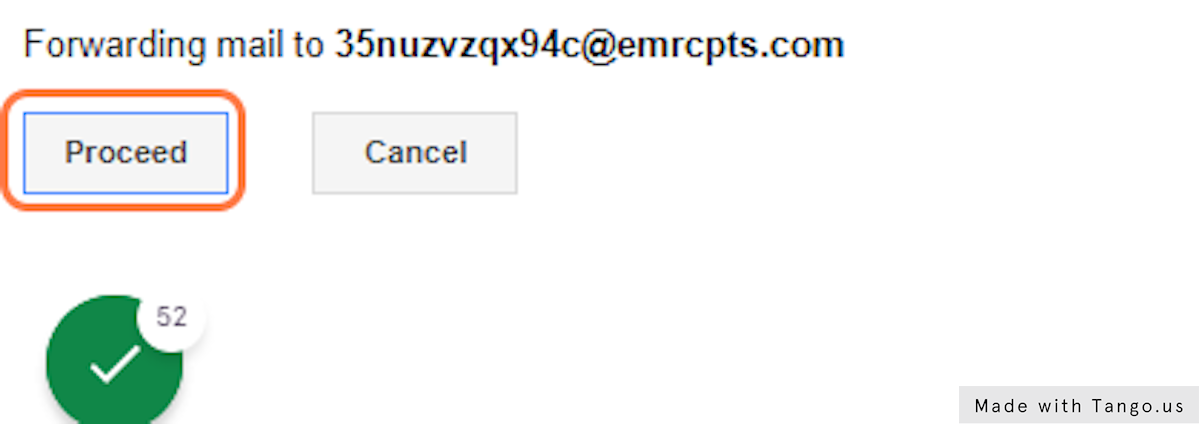
A popup window will open asking you to confirm: Click on Proceed

33. Click on OK to confirm
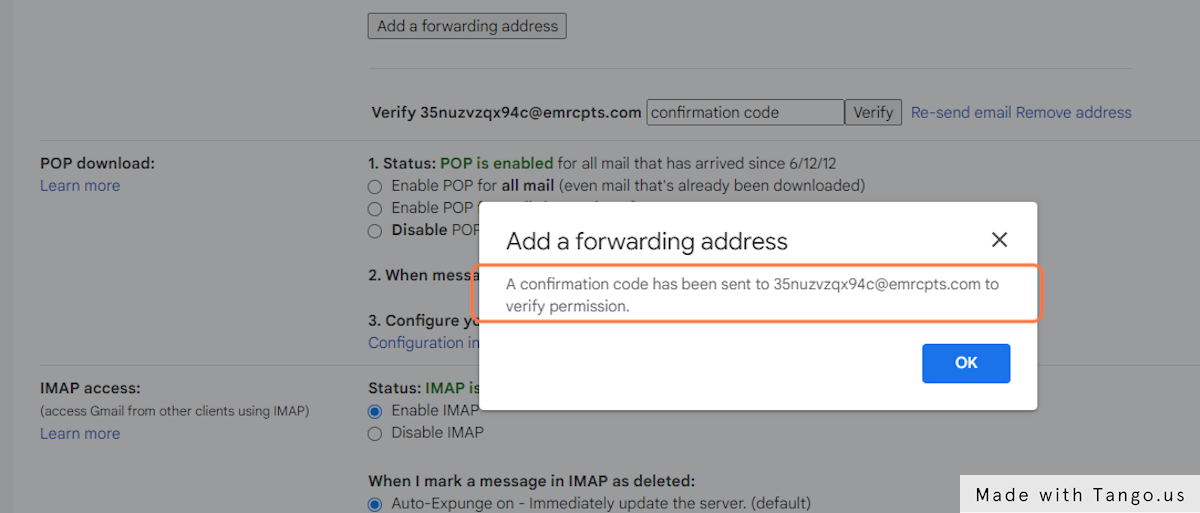
Click on OK to confirm

34. Click on Emails to find the email sent for verification
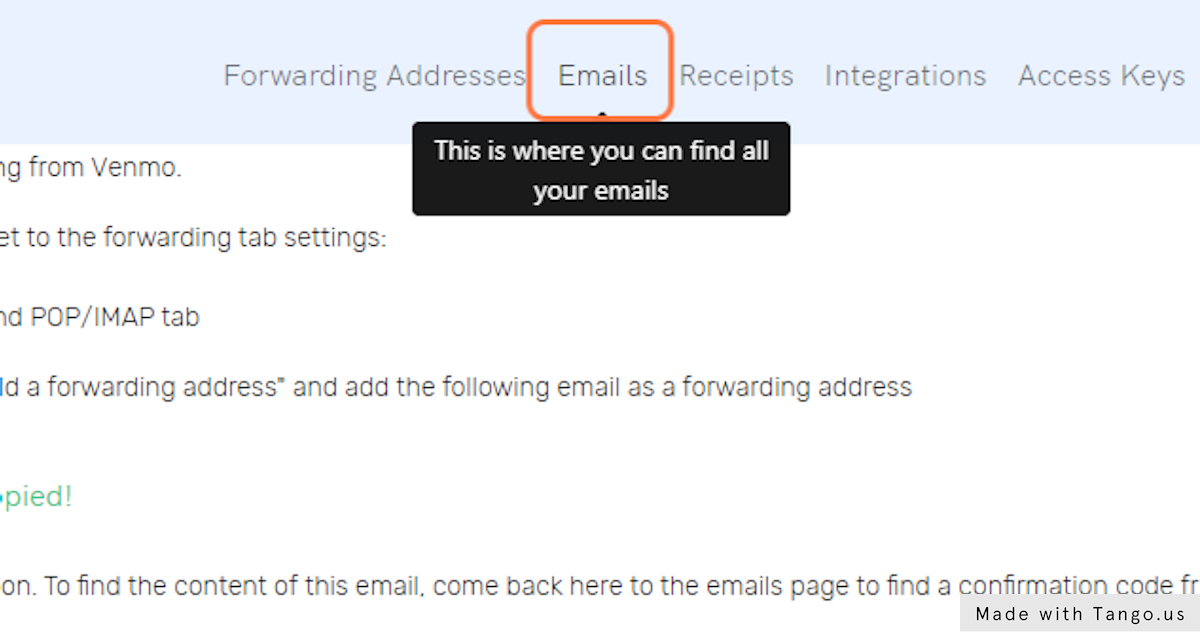
Click on Emails to find the email sent for verification

35. Click on View Emails of the appropriate linked financial account
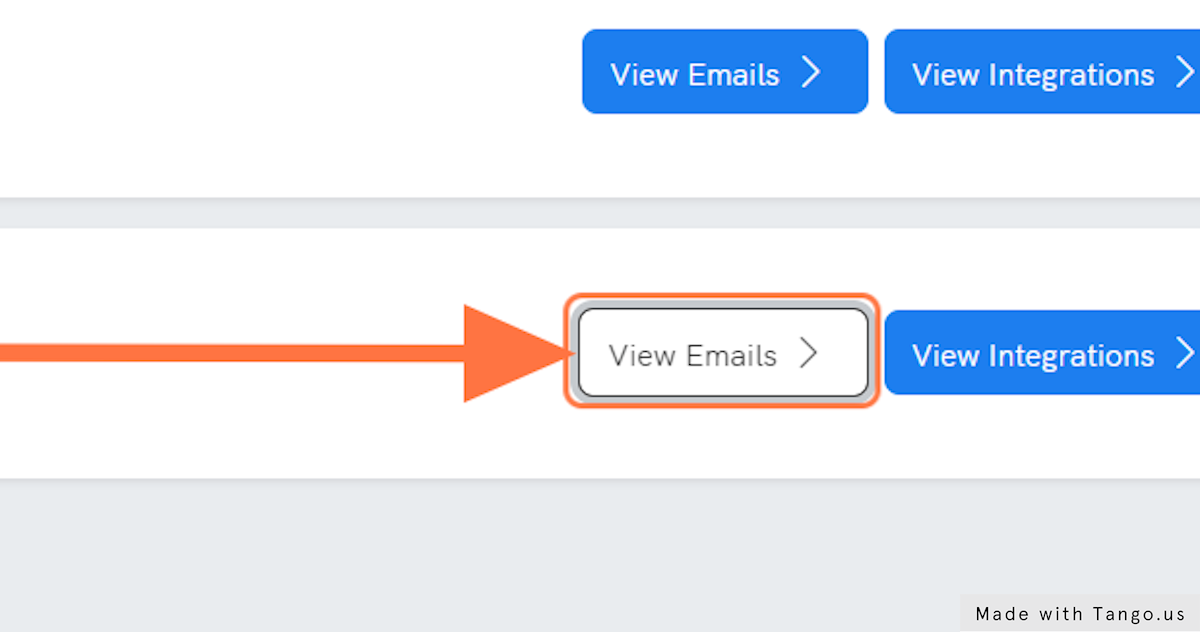
Click on View Emails of the appropriate linked financial account

36. By now, U should have 2 emails in your dashboard: 1 email receipt and 1 email confirmation

By now, U should have 2 emails in your dashboard: 1 email receipt and 1 email confirmation

37. Copy the confirmation code from your email subject or inside the email body
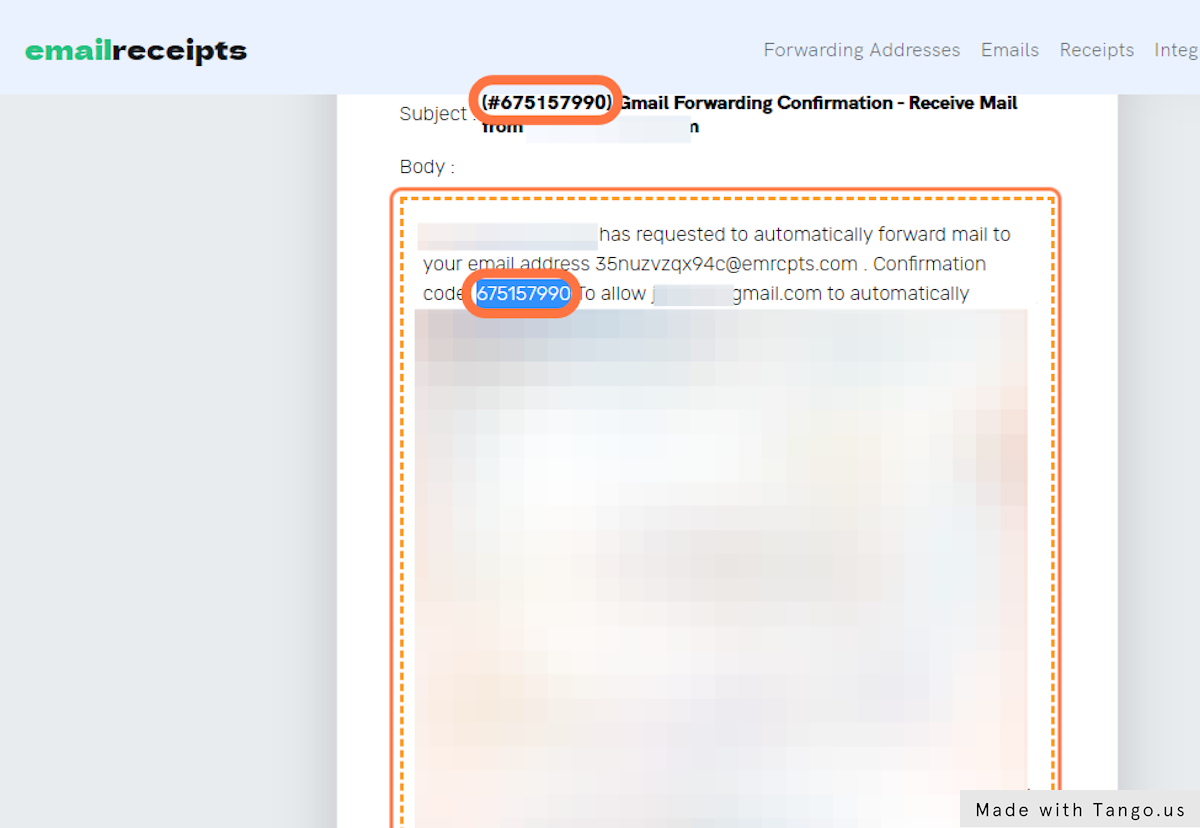
Copy the confirmation code from your email subject or inside the email body

38. Go to your mailbox Settings, Paste/Type in the code then Click on verify
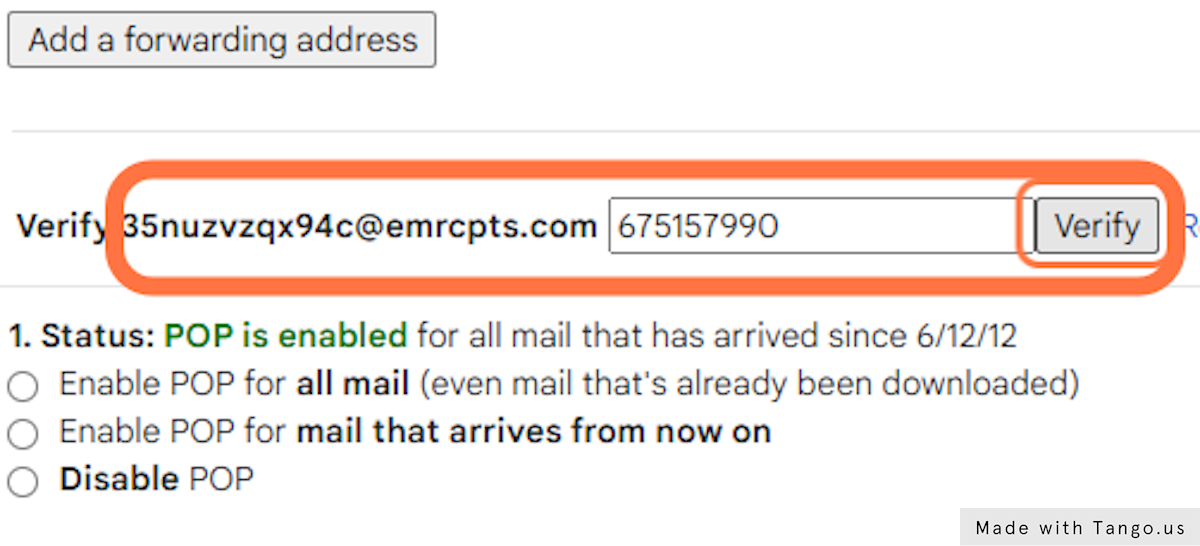
Go to your mailbox Settings, Paste/Type in the code then Click on verify

39. Click on Search / Advanced search options to setup a filter so you can only forward email receipts
Click on Search / Advanced search options to setup a filter so you can only forward email receipts

40. Type your financial institution email, the email subject used in transaction emails for your institution

If you do not know the right subject keywords your institution uses, leave it blank.

Or if for example, the subject always contains "paid" or "sent" etc.

Use the keyword and add double quotes to emphasize it.

Note: U should also click on search first to make sure the results coming in are what you need to be forwarding.
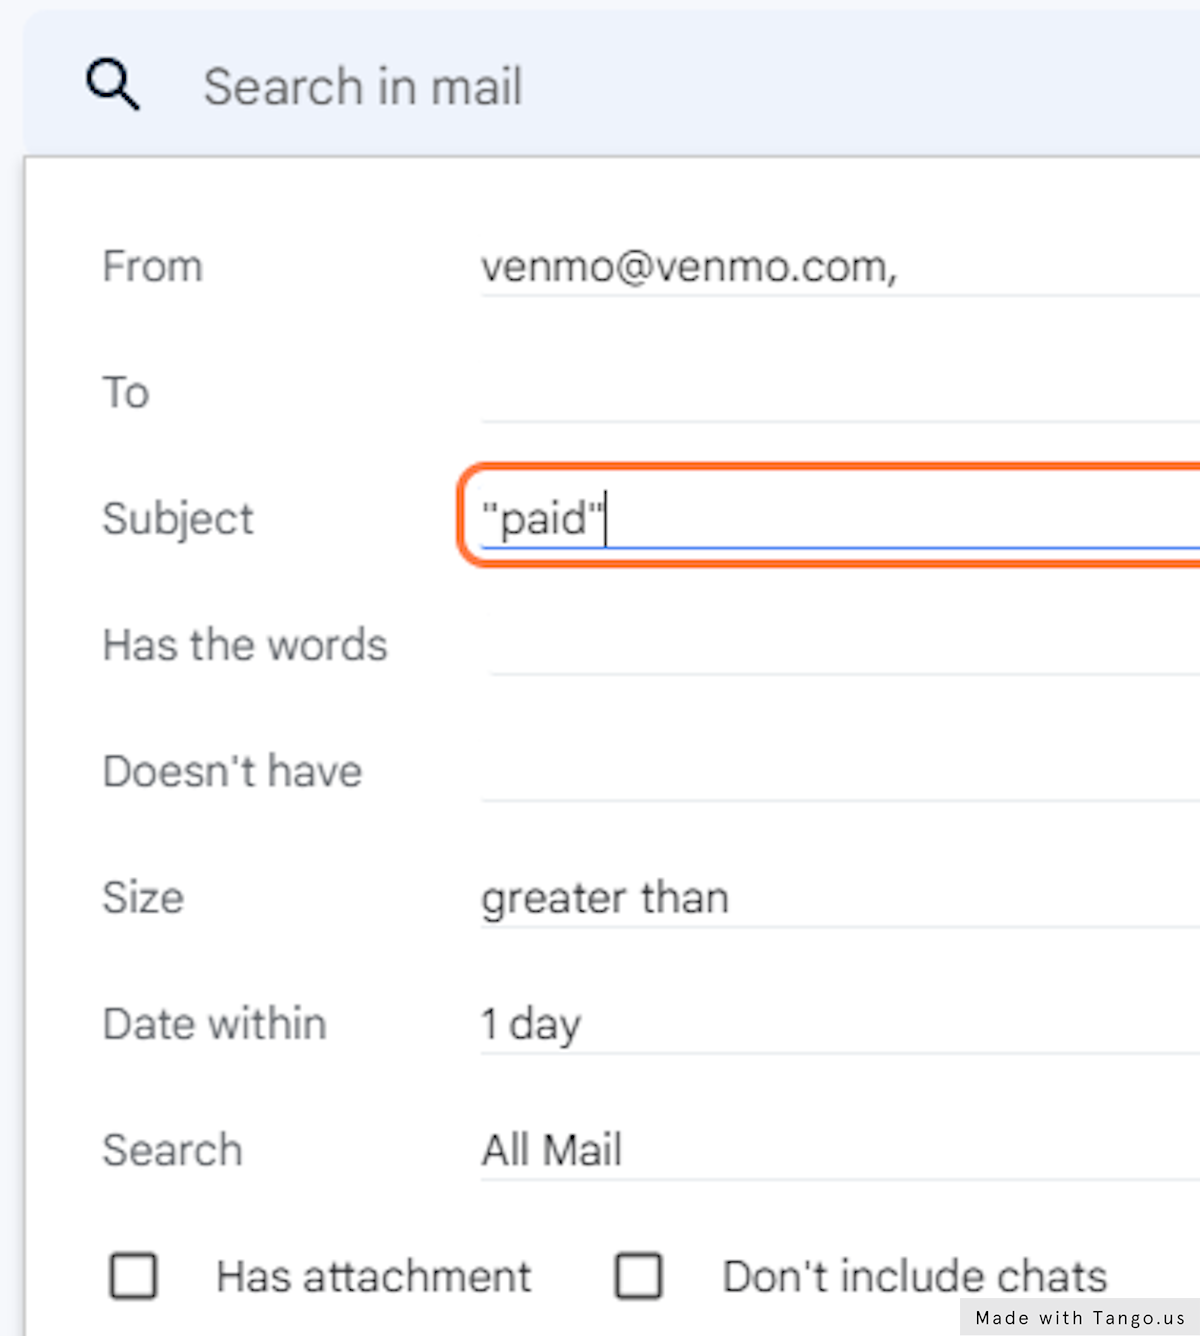
Type your financial institution email, the email subject used in transaction emails for your institution

41. Click on "Create Filter"

Note: U should also click on search first to make sure the results coming in are what you need to be forwarding.
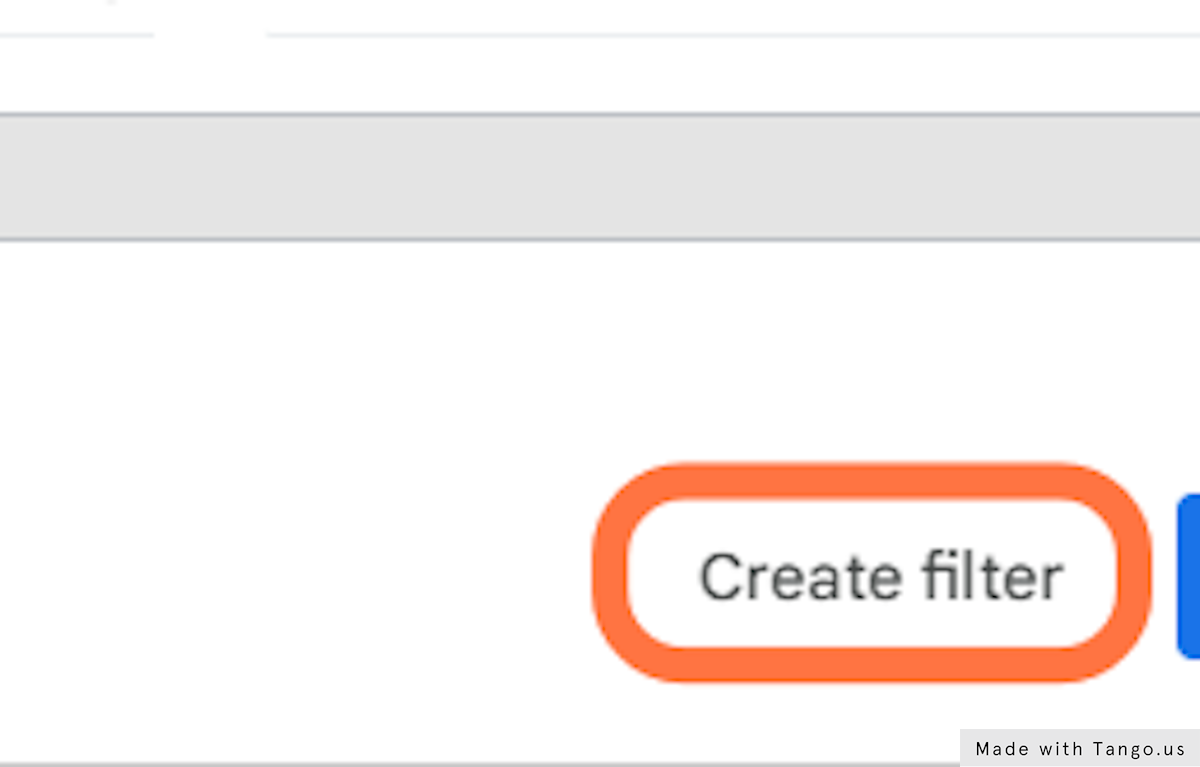
Click on "Create Filter"

42. Choose the address to Forward all future emails that fit the criteria of the filter created then check it
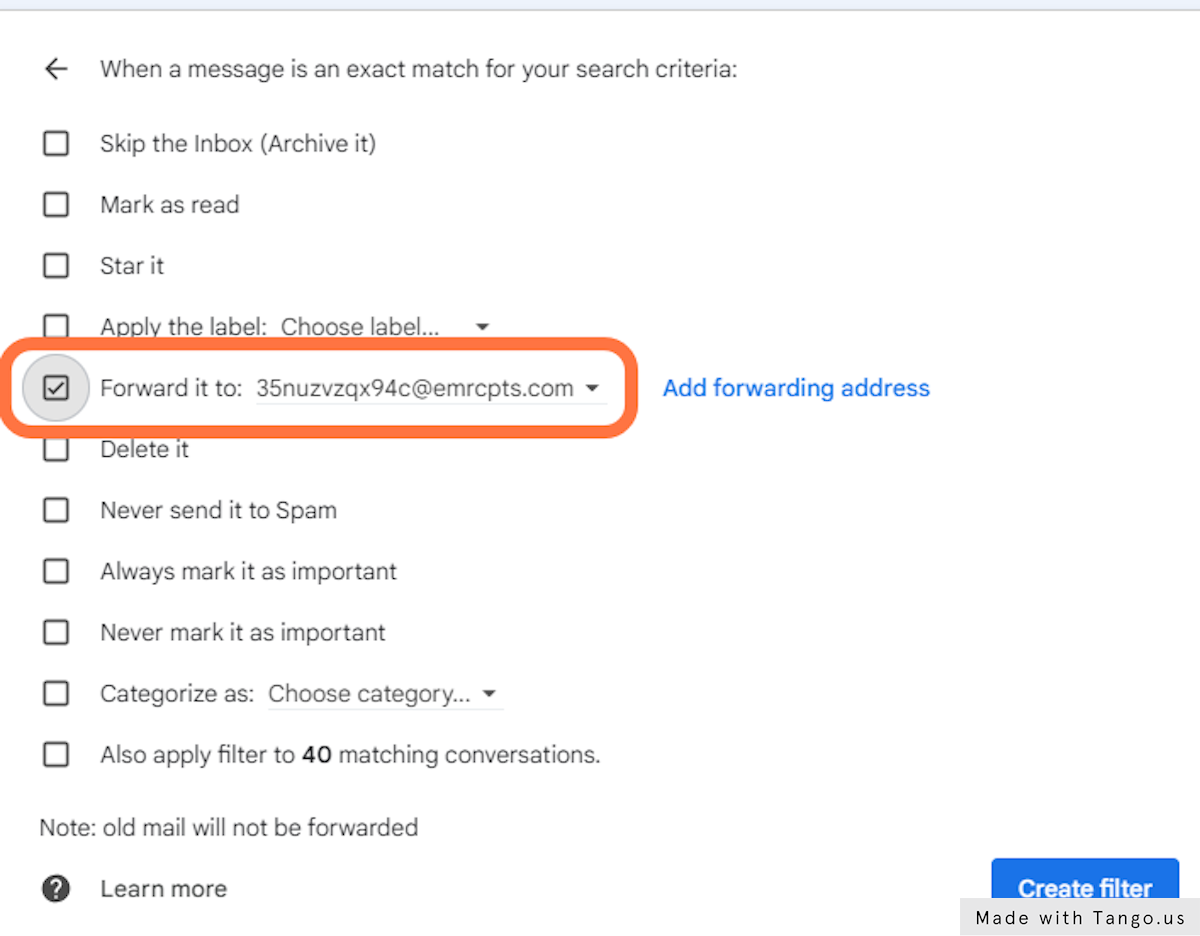
Choose the address to Forward all future emails that fit the criteria of the filter created then check it

43. Once you have clicked on "Create filter", pat yourself on the back because you are done
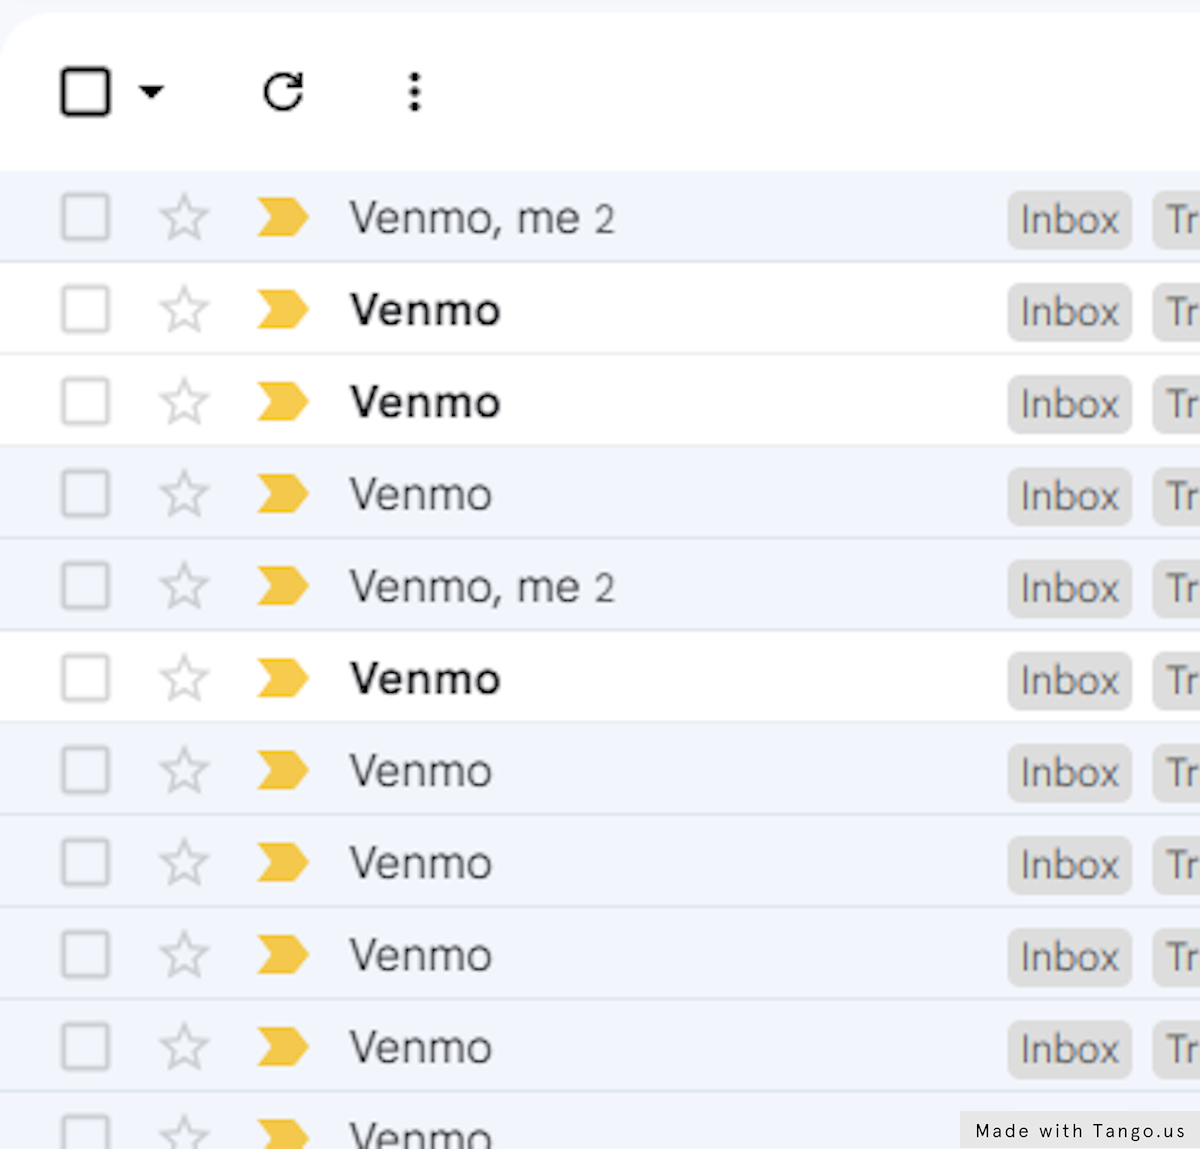
Once you have clicked on "Create filter", pat yourself on the back because you are done

Congratulations, you did it. Pat yourself on the back.

Congratulations by Leo Dicaprio

This Workflow was created with Tango.

Coming soon.

Start with our step-by-step guide for WooCommerce/WordPress:

WooCommerce integration tutorial

emailreceipts.io does not connect to your mailbox. You will forward or auto-forward receipt emails from your email provider to your unique @emrcpts.com address, and our webhook will post parsed data to your store to confirm and process orders.

After installing and activating the integration, review the store details that were imported. Use Edit Information where allowed. Some fields are read-only because they sync directly from your plugin or WordPress settings—update those in WordPress first, then resync.

Configure your webhook/endpoint URL in emailreceipts.io so parsed receipts are sent to your site. Ensure your site is publicly reachable (no maintenance mode or basic auth) and uses HTTPS.

Keep your unique @emrcpts.com address private. You control forwarding from your email provider; emailreceipts.io never connects to your inbox.

Choose the financial institution or payment method you want to track, and we will generate a unique address like *****@emrcpts.com for you.

Forward the most recent receipt email from your payment provider to that address. You can also set up auto-forwarding rules in your email provider so future receipts are sent automatically.

Processing typically completes in about 30 seconds. You can track status on your Emails page. We retain receipt-linked emails as a source of truth. Learn more in our Privacy Policy.

First, check Emails to confirm receipt. If it’s missing:

• Verify you sent it to the correct @emrcpts.com address shown in your dashboard for that institution.

• Ensure your email provider didn’t block, delay, or rate-limit the forward. Check your Sent folder and forwarding logs.

• For safety, we validate the original From sender domain. If the message was not originally from the expected financial institution (or was altered by another system), it may be ignored. Forward the original receipt, not a screenshot or manually composed email.

• Confirm the email appears on your Emails page. If not, see the previous FAQ.

• Make sure you forwarded it to the matching @emrcpts.com address for that specific institution and that the original sender is the expected provider.

• Ensure the receipt is a standard email or common attachment (e.g., HTML, PDF). Images-only receipts or heavily redacted emails may fail extraction.

• If parsing still fails, forward a newer receipt from the same provider or contact support with the message ID so we can improve extraction.

• Check your webhook logs/responses in the emailreceipts.io dashboard for HTTP status codes and error messages.

• Ensure your site is online, reachable over HTTPS, and not blocking our IPs (firewall, maintenance mode, basic auth).

• Verify your plugin/extension settings and update to the latest maintained version. Free versions may only store receipts; PRO extensions are required for full order updates.

• If retries are enabled, we will attempt resends. Otherwise, fix the issue and trigger a manual resend from the dashboard.

No, not if you integrate. When a valid receipt arrives, emailreceipts.io extracts the payment details and posts them to your site via webhook. Your integration can automatically mark orders as paid, update status, and add notes.

You can still review and override manually at any time. If no valid payment is detected, your order can remain pending until you take action (e.g., cancel or request payment).

Typical flow:

1) Customer places an order on your site and chooses a supported payment method (e.g., Cash App, Venmo, Zelle, bank transfer, etc). The order is created as pending.

2) Customer pays externally. Your payment provider emails a receipt to your normal inbox.

3) Your email provider auto-forwards that receipt to your unique @emrcpts.com address.

4) emailreceipts.io extracts payment details and notifies your store via webhook.

5) Your store updates the order accordingly (e.g., set to processing/completed), and you or the customer receive status updates per your store settings.

When a payment receipt is received and validated, your store is notified and the order status can update automatically. You will see order notes and/or admin notifications as configured by your integration.

If no valid receipt is received, the order remains pending and you can follow up or cancel per your normal workflow.

Many popular payment options confirm transactions via email or receipt notifications, but lack reliable, ready-made ecommerce integrations. emailreceipts.io bridges that gap by parsing receipts and posting results to your store, similar to how PayPal IPN or webhooks confirm payments.

This reduces cart abandonment from limited payment options, speeds up fulfillment, and avoids costly custom integrations. Learn more in our Privacy Policy and Terms.