Gmail Integration
Here is what you need to know to process and extract receipts transactions from your gmail mailbox via forwarding relevant emails to emailreceipts.io.
Go to your mailbox preferences and set up Email forwarding from your financial institution.
If you are using Gmail for example, follow these steps to get to the forwarding tab
settings:
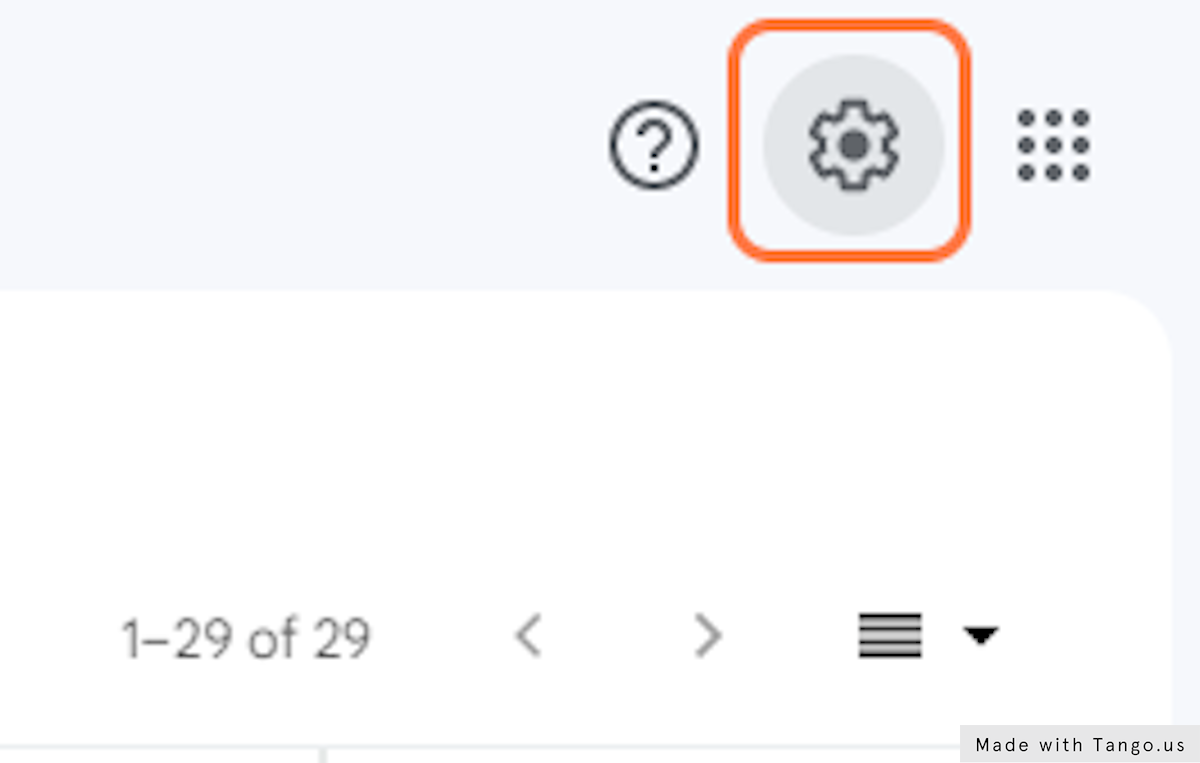
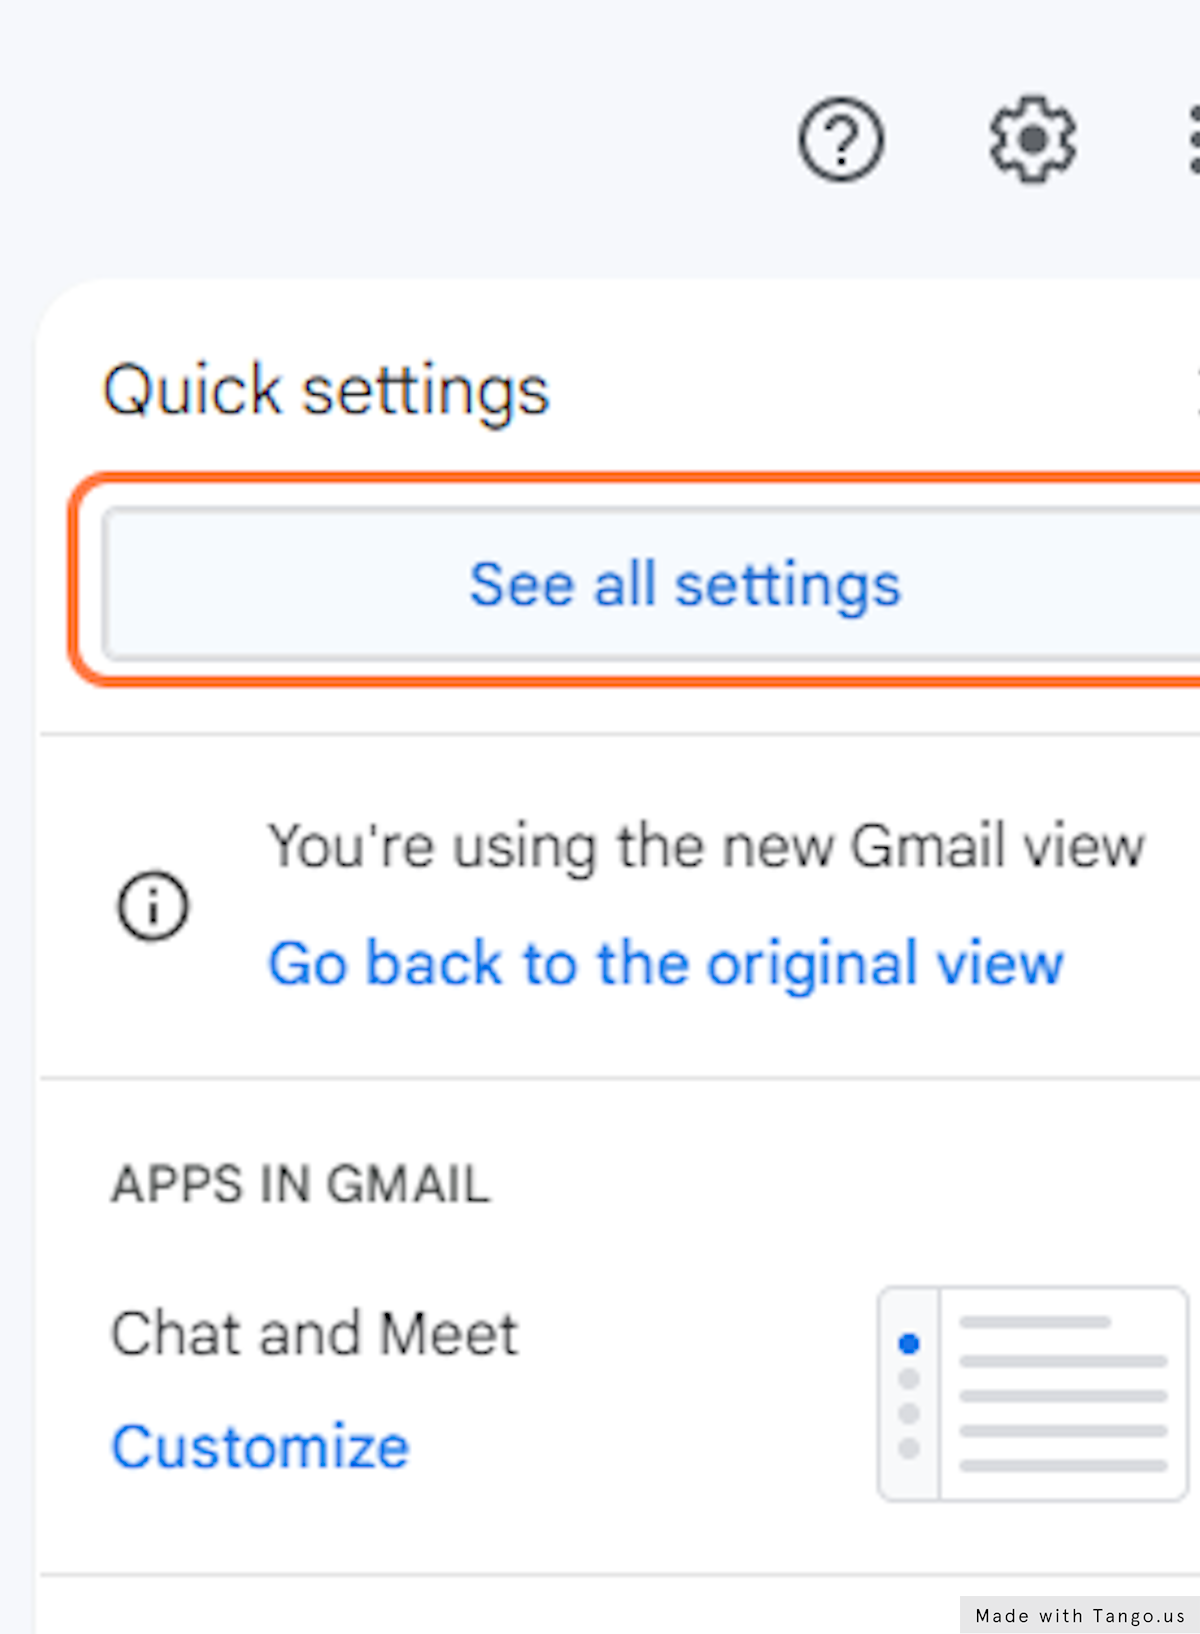
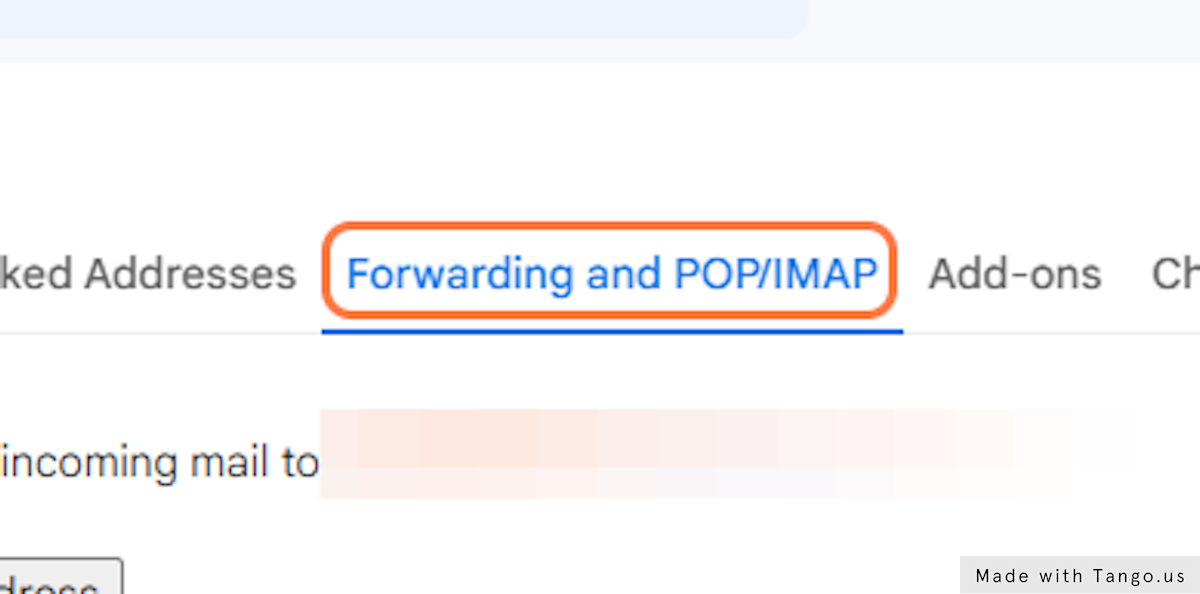
Settings icon in top right > See all settings > Forwarding and POP/IMAP
tab
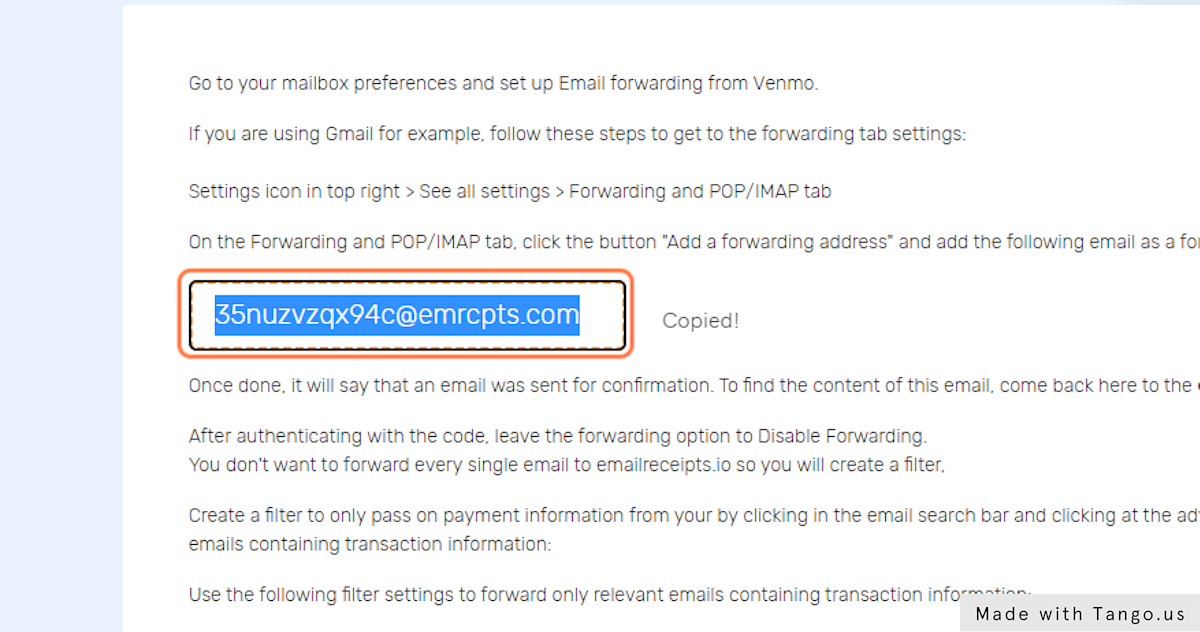
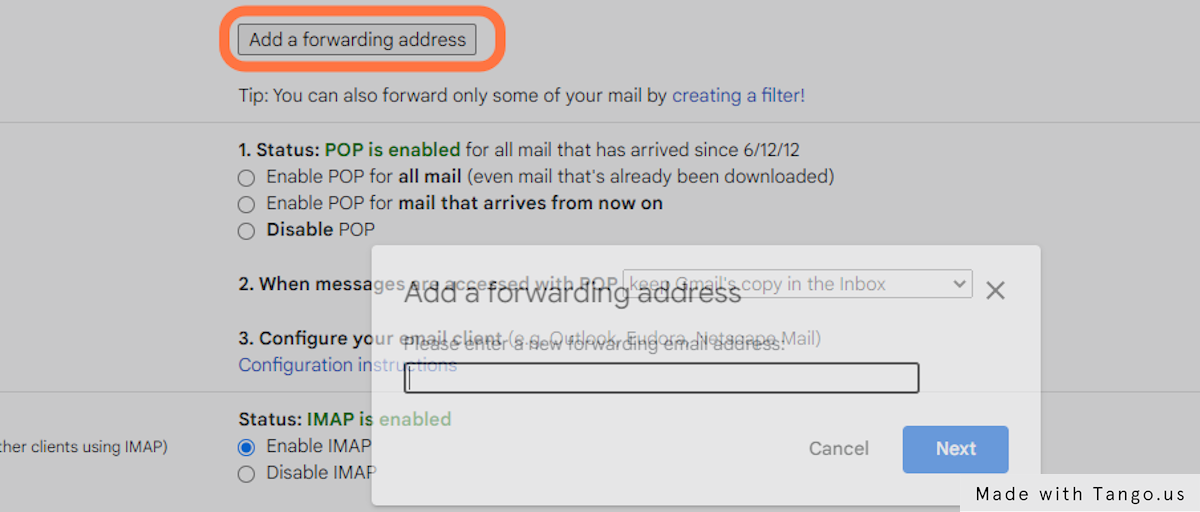
On the Forwarding and POP/IMAP tab, click the button "Add a forwarding address" and add the special forwarding address email (***@emrcpts.com) generated by emailreceipts.io when connecting your financial account
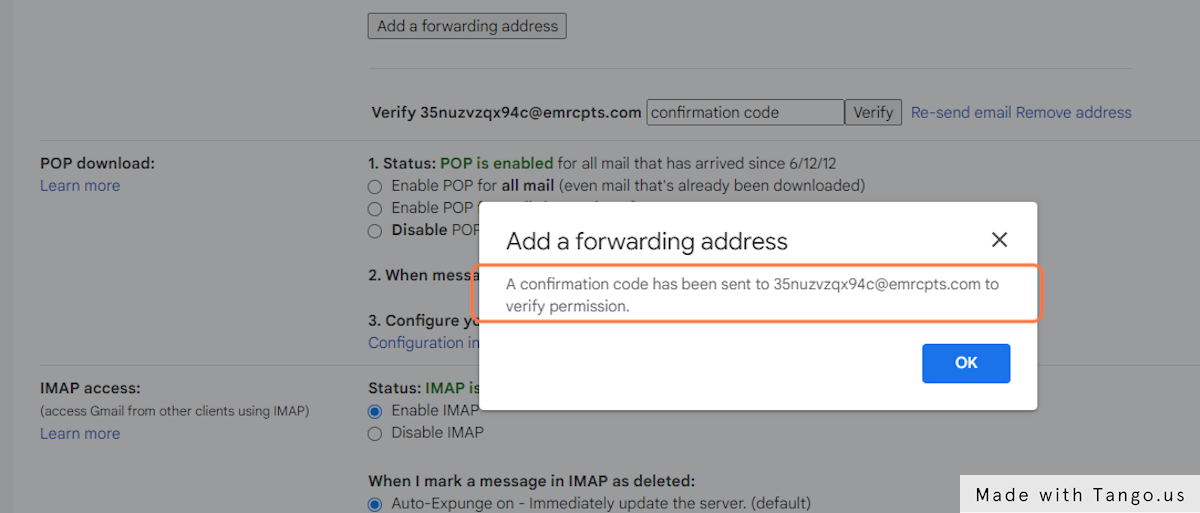
Once done, it will say that an email was sent for confirmation. To find the content of this email, come back here to the emails page to find a confirmation code from Gmail. Then enter it back into Gmail to link your financial institution to emailreceipts.io
After authenticating with the code, leave the forwarding option to Disable Forwarding.
You
don't want to forward every single email to emailreceipts.io so you will create a filter,
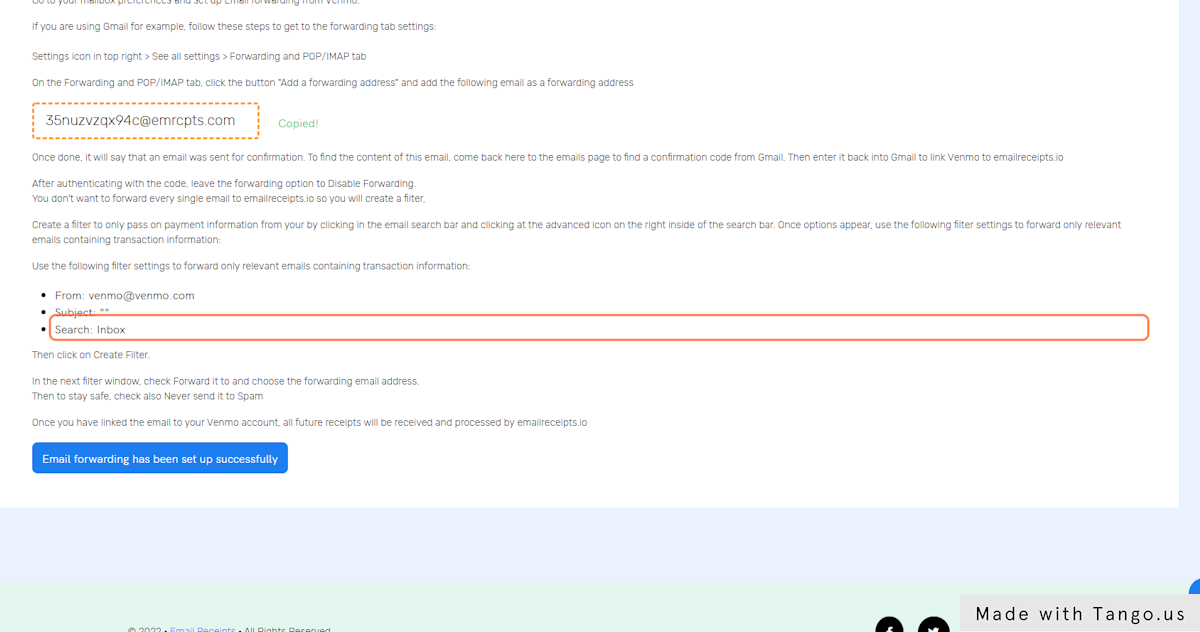
Create a filter to only pass on payment information from your by clicking in the email search bar and clicking at the advanced icon on the right inside of the search bar. Once options appear, use the following filter settings to forward only relevant emails containing transaction information:
Use the following filter settings to forward only relevant emails containing transaction information:
- From: email@financialinstitution.com
- Subject: (if applicable)
- Search: Inbox
Then click on Create Filter.
In the next filter window, check Forward it to and choose the forwarding email address.
Then
to stay safe, check also Never send it to Spam
Once you have linked the email to your your financial institution account, all future receipts will be received and processed by emailreceipts.io
Here is an extract of the full tutorial showing you how to connect and forward your email receipts from Gmail
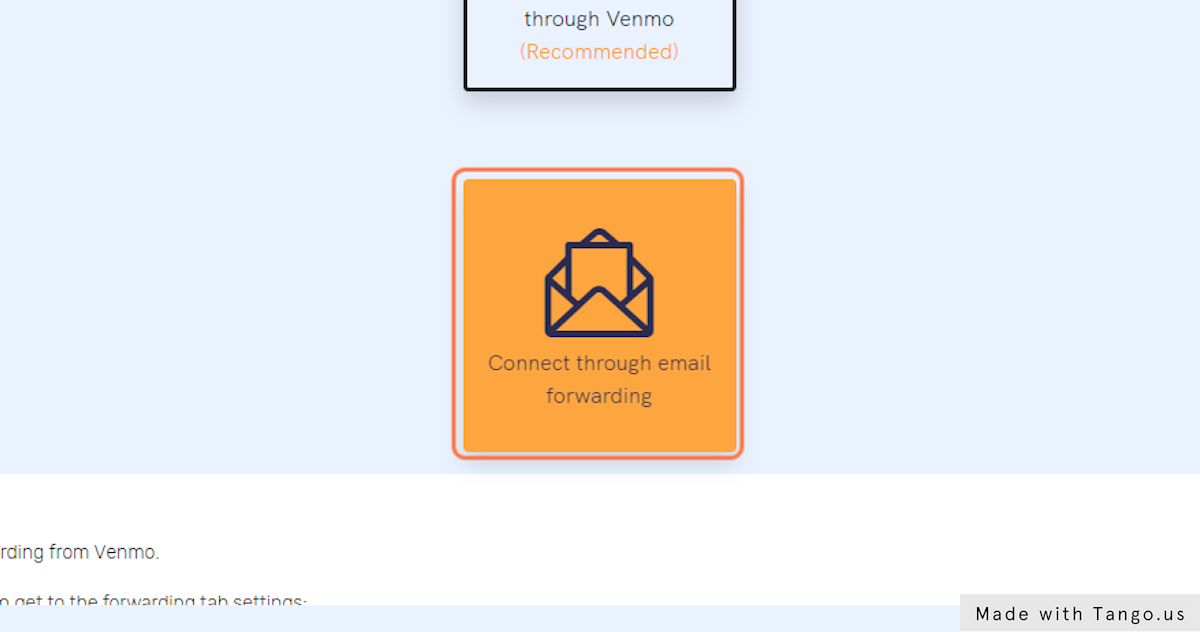
24. Click on Connect through email forwarding if you want your mailbox to forward email receipts to emailreceipts.io
Depending on your financial institution, you may choose to add the *****@emrcpts.com address as an additional notification email (meaning that the email gets notified as an additional email anytime your financial institution sends an email) or you might decide instead to do it from your mailbox where you can filter exactly what types of emails to forward to emailreceipts.io
Most financial institutions do not send sensitive information through emails, so if yours does, you might want to use the advanced filter to only forward the receipts.
25. Copy input titled "******@emrcpts.com"
26. Click on Search: Inbox
27. Click on Settings
28. Click on See all settings
29. Click on Forwarding and POP/IMAP
30. Click on Add a forwarding address
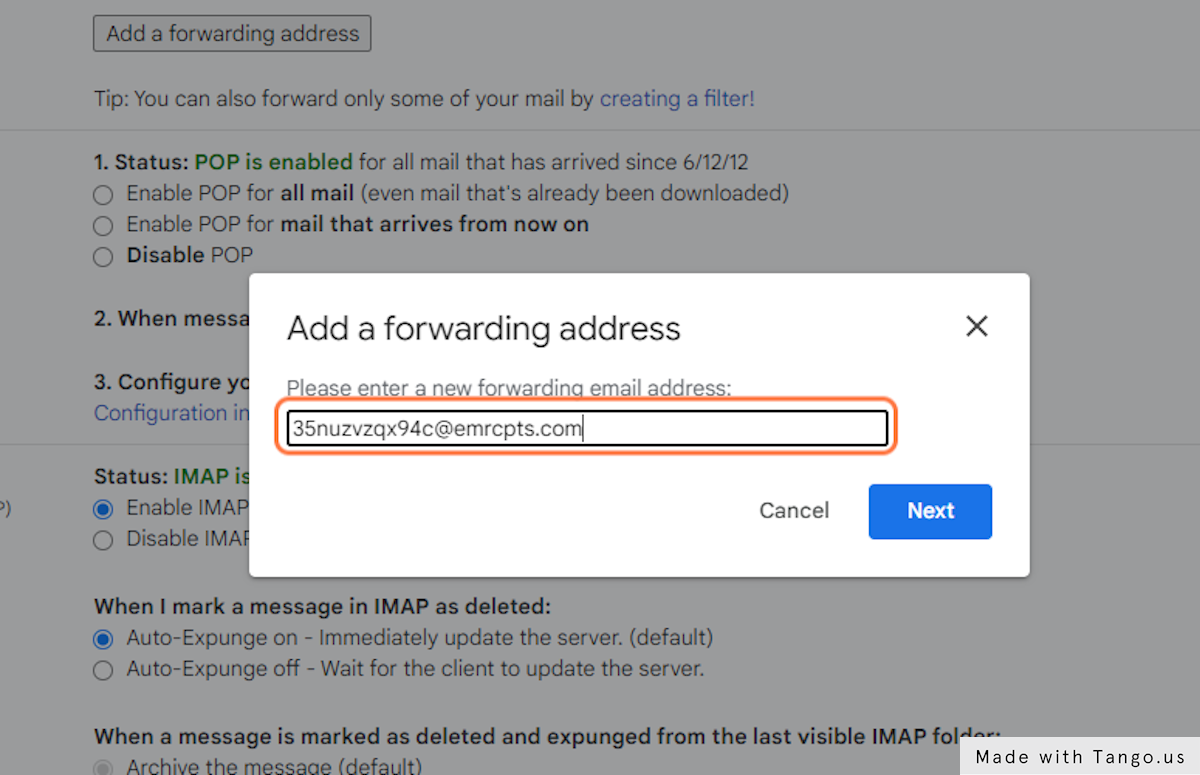
31. Paste "*****@emrcpts.com" into input then Click on Next
32. A popup window will open asking you to confirm: Click on Proceed
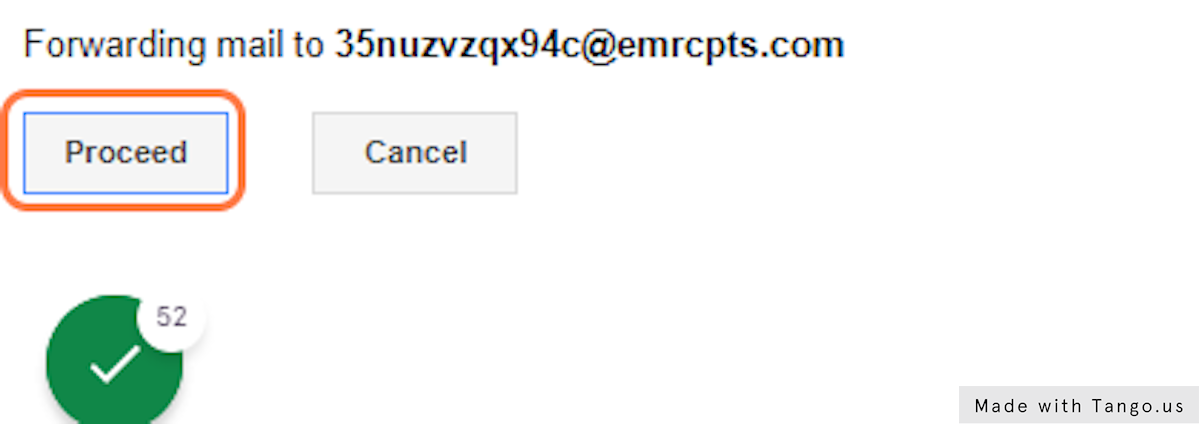
33. Click on OK to confirm
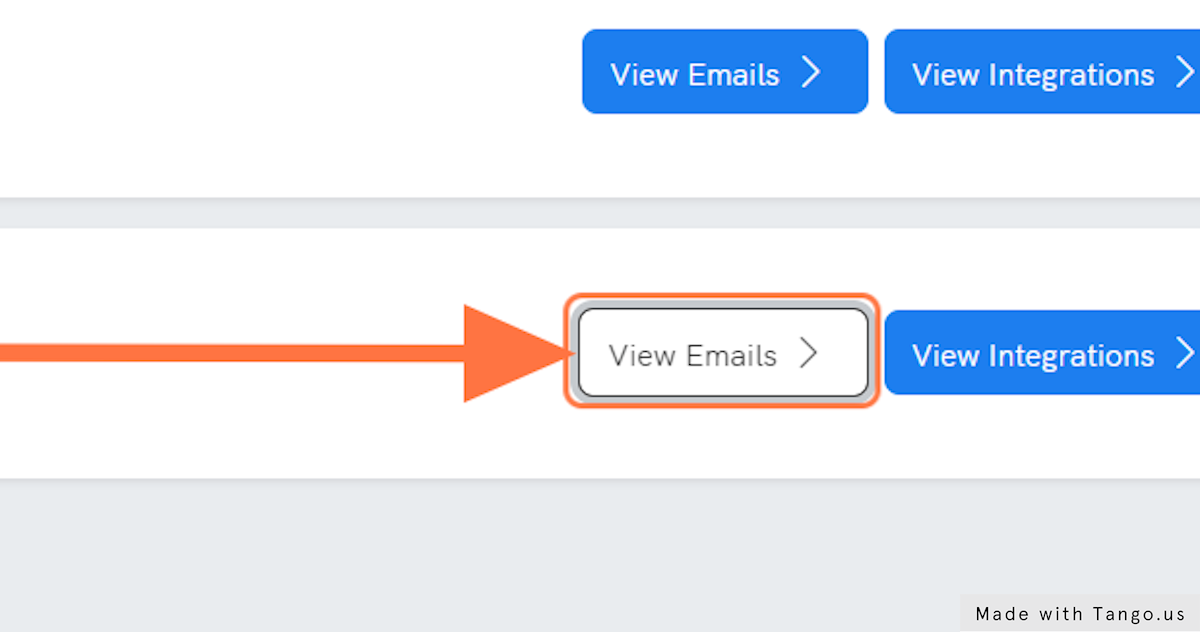
34. Click on Emails to find the email sent for verification

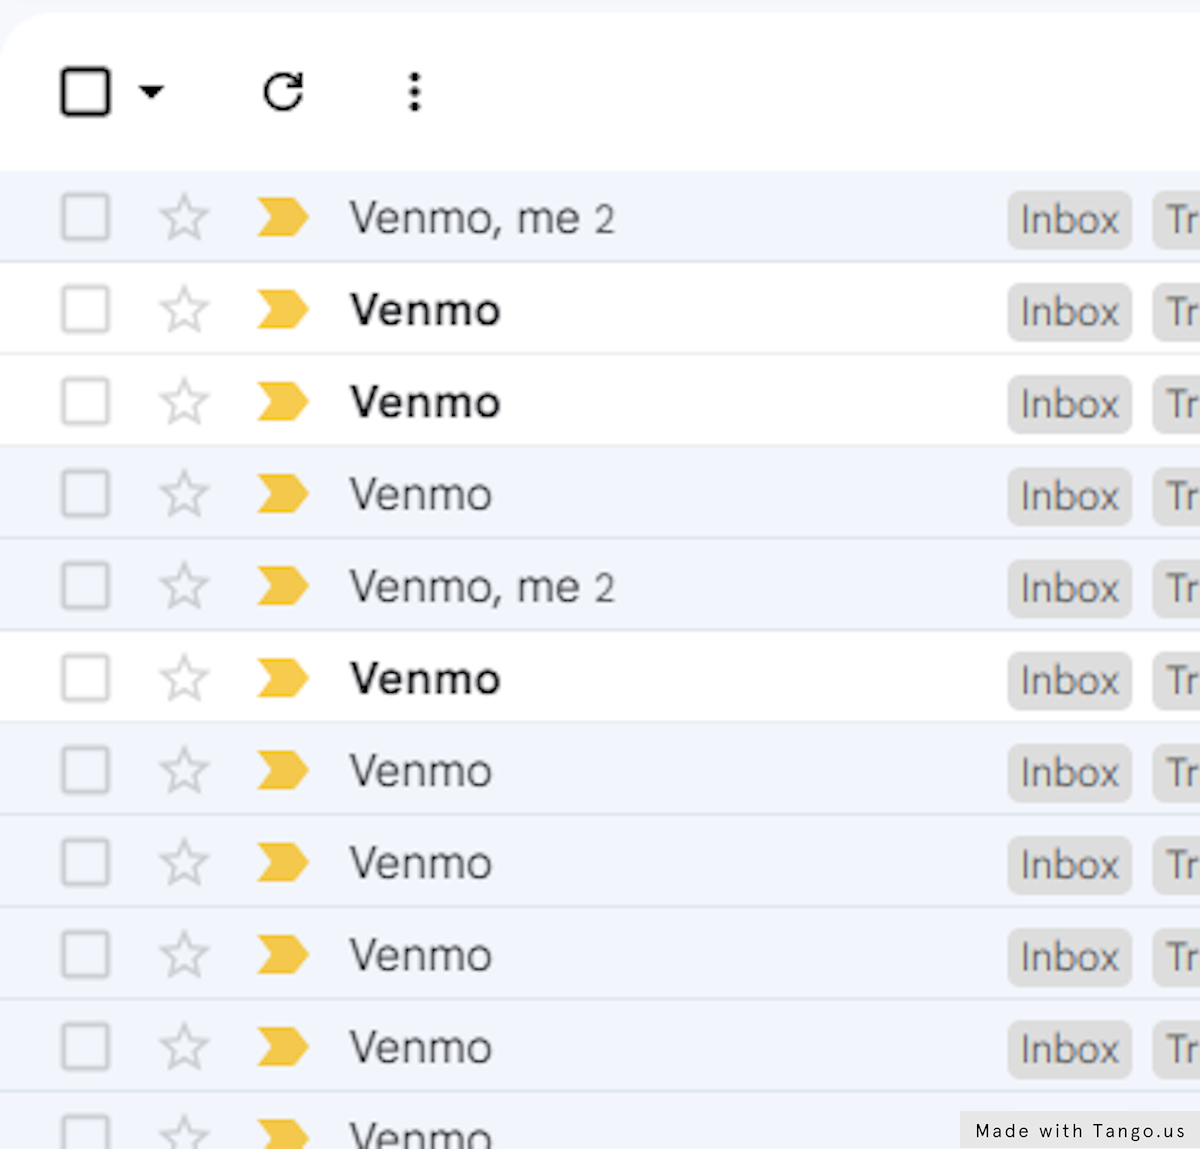
35. Click on View Emails of the appropriate linked financial account
36. By now, U should have 2 emails in your dashboard: 1 email receipt and 1 email confirmation
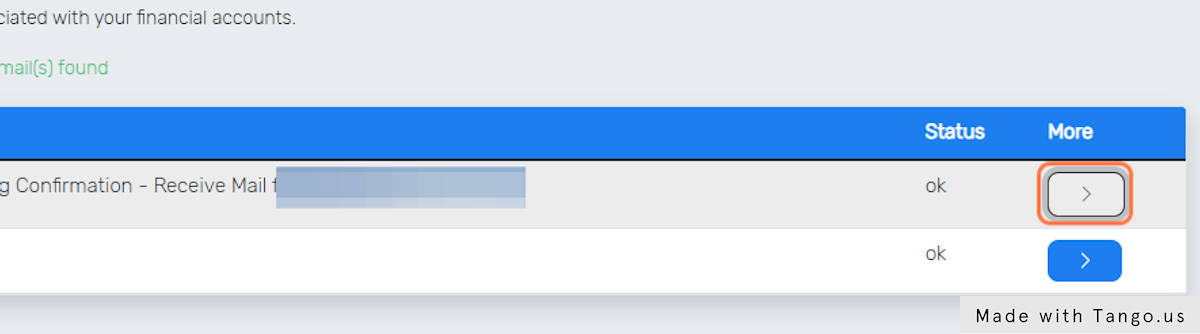
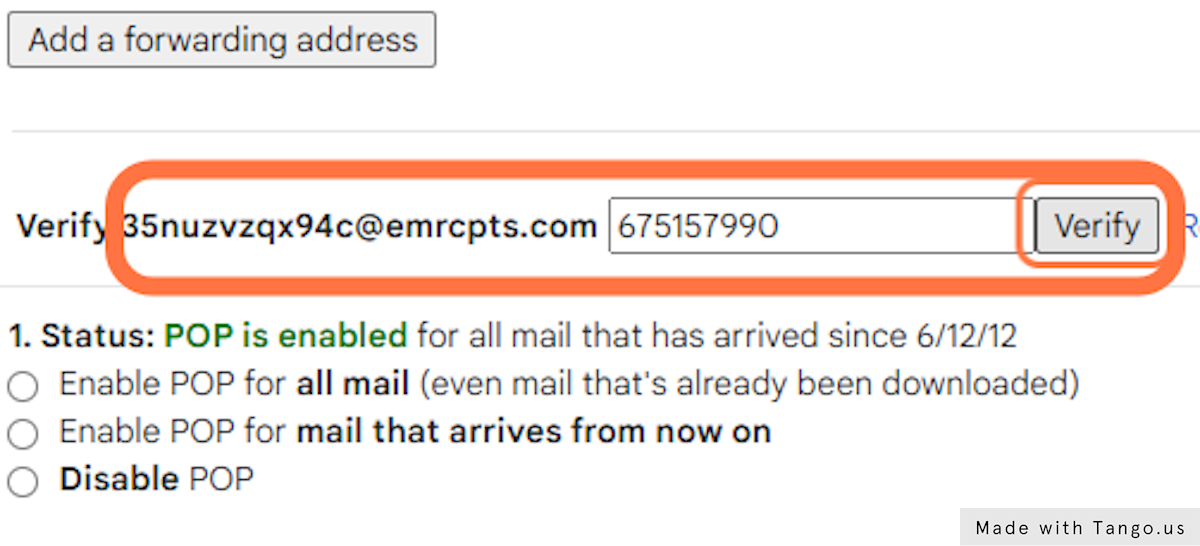
37. Copy the confirmation code from your email subject or inside the email body

38. Go to your mailbox Settings, Paste/Type in the code then Click on verify
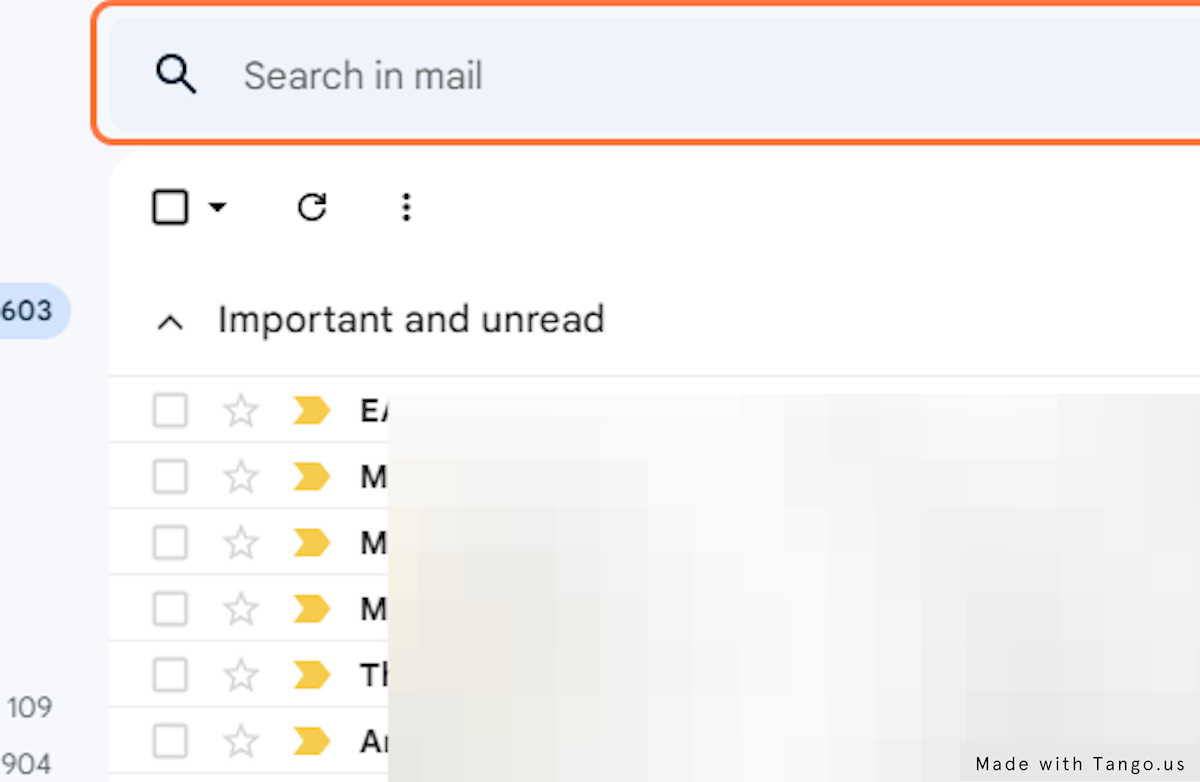
39. Click on Search / Advanced search options to setup a filter so you can only forward email receipts
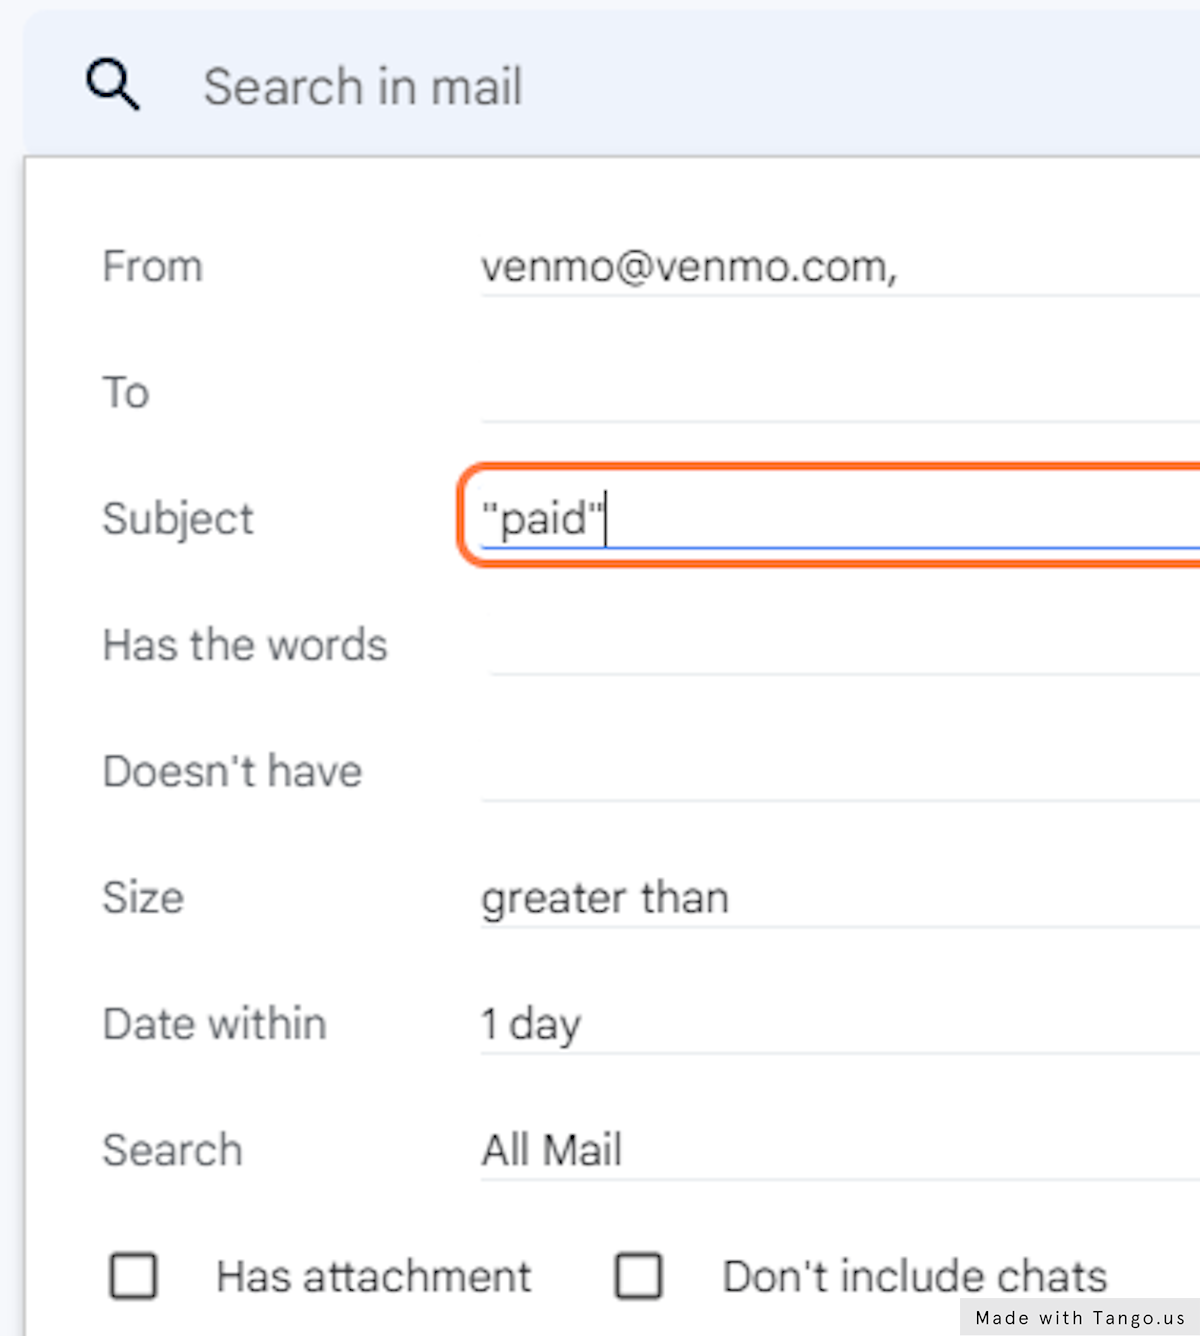
40. Type your financial institution email, the email subject used in transaction emails for your institution
If you do not know the right subject keywords your institution uses, leave it blank.
Or if for example, the subject always contains "paid" or "sent" etc.
Use the keyword and add double quotes to emphasize it.
Note: U should also click on search first to make sure the results coming in are what you need to be forwarding.
41. Click on "Create Filter"
Note: U should also click on search first to make sure the results coming in are what you need to be forwarding.

42. Choose the address to Forward all future emails that fit the criteria of the filter created then check it
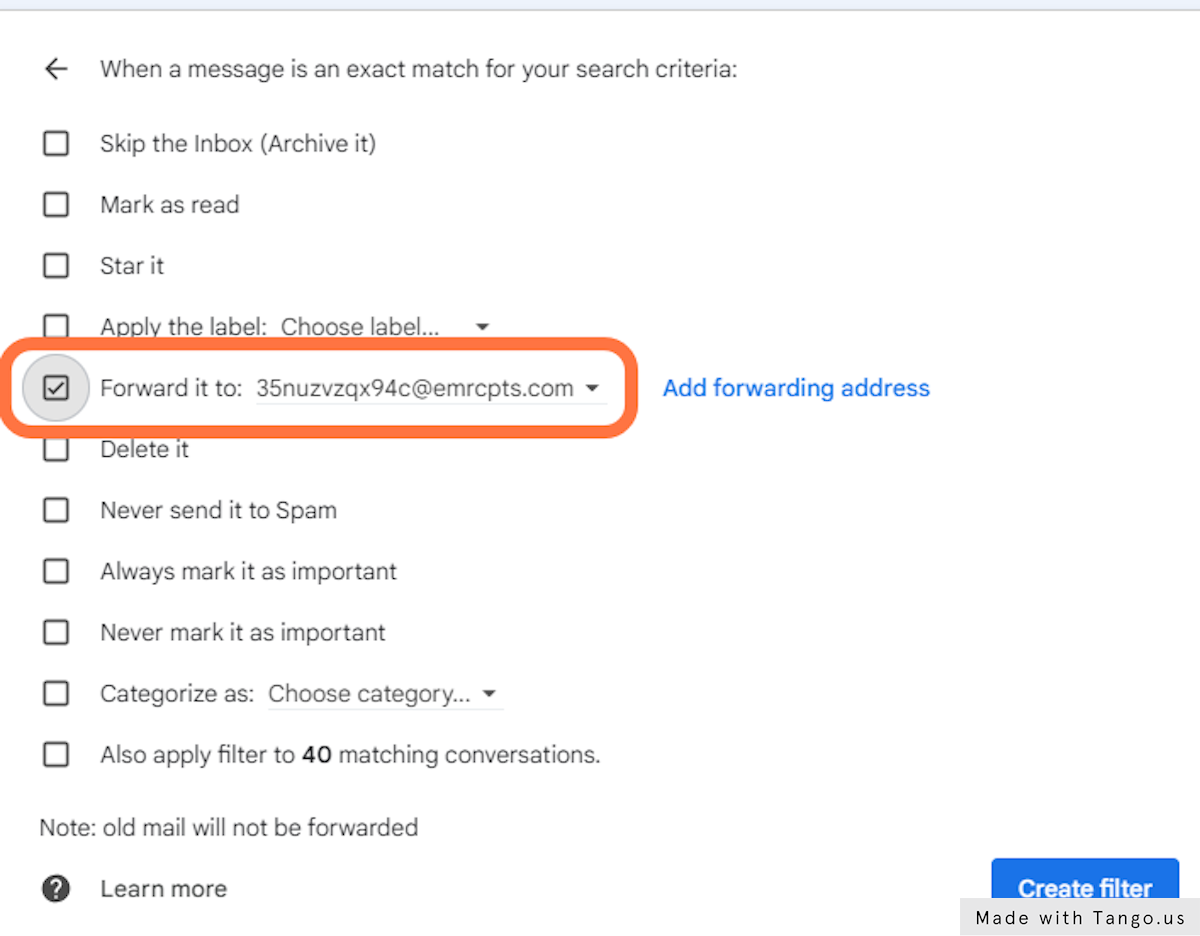
43. Once you have clicked on "Create filter", pat yourself on the back because you are done
Congratulations, you did it. Pat yourself on the back.